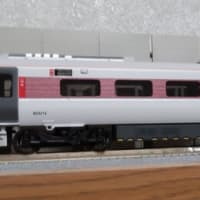
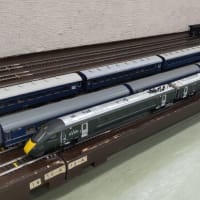
I bought 2 sets of Hornby Class 800 5-car trains to enjoy 2-unit coupled operation.
At first, disassemble car 5 (Driving Standard car).


Dummy front coupler is installed onto the NEM pocket, but cannot be used for the operation. I tried to install close coupling device.
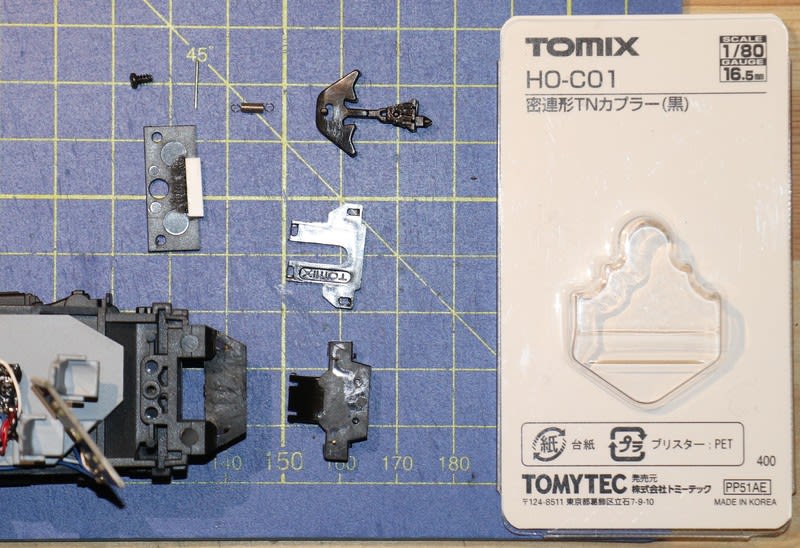
Same as the case of Hornby Class 395, I prepared TN close coupling by Tomytec. Remove the NEM pocket, and trim the front end of chassis carefully to make the installation space.
Trim the casing of coupling unit smaller, but not to lose the function.

First trial was like this, but failed. The coupler head was too long to fit the coupler hatch.

So I trimmed the coupler casing much smaller. The fixing clips at the rear must be removed, so a pair of brass pins were fitted to fix the upper lid.
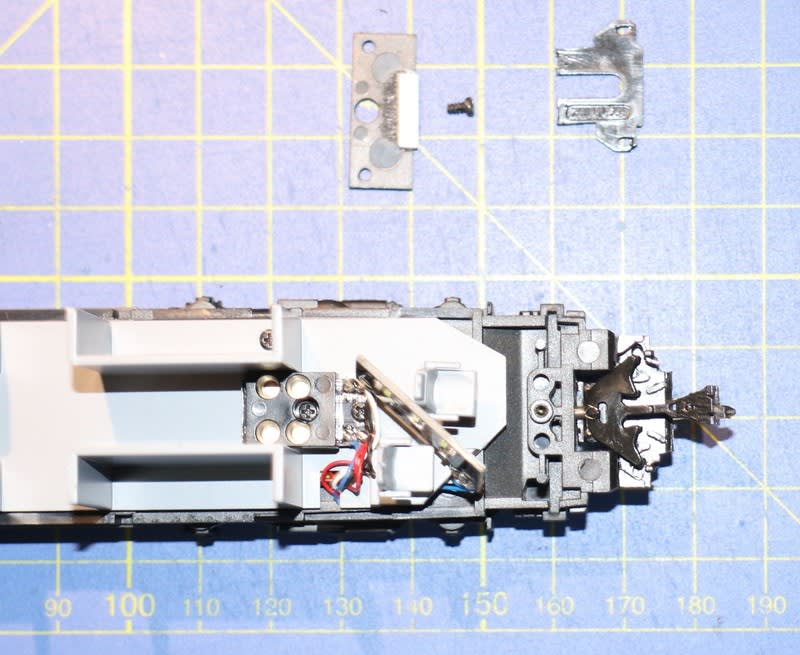
The casing was fixed onto the chassis by the other brass pins.
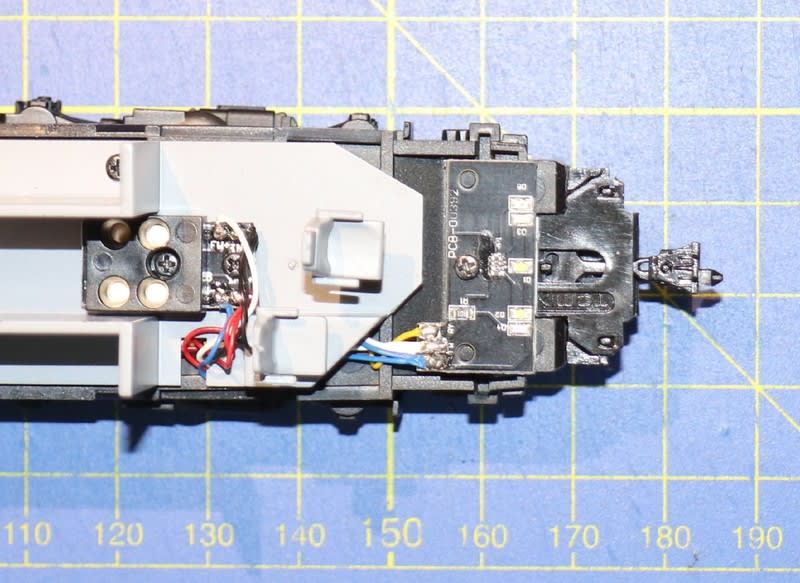
A 1.8mm dia hole was drilled on the bulkhead of the chassis to store the centring spring. The rear end of the spring was fixed by a short brass pin in the screw hole.
The spacer of the head light unit holds the coupling unit. A small piece of stylene was glued onto the spacer to fill the gap.
Fit the upper lid, and install the head light unit.


After assembly. The coupler is swinging smoothly, but the coupler head still disturbs installing coupler hatch.

The motor car (car 1, Driving First) has the die-casted metal chassis, and it's hard to modify. So another coupling unit will be instlled onto car 5 of another train.