I bought 2 x 6-car units of Hornby Class 395 train models to enjoy 2 units coupled train.
At first, I removed a front coupler hatch by releasing the snap-on hooks at both sides of the hatch, and push them toward front. Then I found a 2x3mm rectangular hole that is suitable for the NEM swallow tail coupler.
Of course, I tried loop couplers. But...
The coupler overthrow on R600 reverse curve is like this. This option cannot be used.
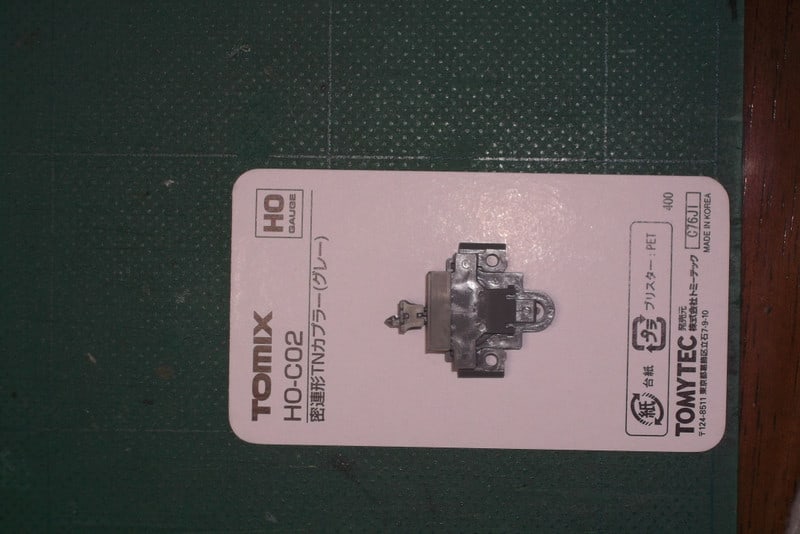
HO scale close coupling made by Tomix.jp.
Disassemble like this by releasing snap-on latches. Trim the tabs at both sides of coupler case, not to damage the guide groove.
I didn't use the top cover plate to install the coupler at higher position. Made holes and a groove on the chassis same as the top cover plate by using it as a template.
Enlarge the coupler hole to the same size as that of coupler case.
Fit the assembled coupler onto the chassis. I tried to glue the coupler box but the glue didn't work. therefore I made a fixing plate from thin brass sheet and screwed it onto the chassis.
Fixing plates, before & after.
After installation. You can find white plastic pieces at both sides of the coupler opening. These pieces shall be fitted to support the chassis at its position.
Coupled condition. Looks like real train!
On R600 reverse curve, still kept coupled!
Of course, I did running tests. This coupling system worked well.
When removing the coupler hatch, I broke some of the guide pins on the top and bottom of the hatch. I glued the new pins on the hatch and reopen the guide holes. The hatch is supported by these guide pins only, because the snap-on hooks were broken, too.


