The japanese page is this page.
Students from class C.
We first had to cut the hard-board for our work.
There was a big sound from the vibrations of the metal saw cutting.You need to be careful and avoid injury.
After being told how to use it safely the students could use the saw.
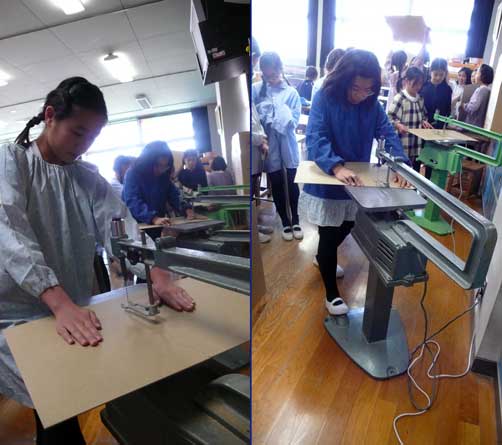
In grade 5 the students get used to using similar machines to this, like the sewing machines in Home Economics class.
Gradually they relaxed and could smile.

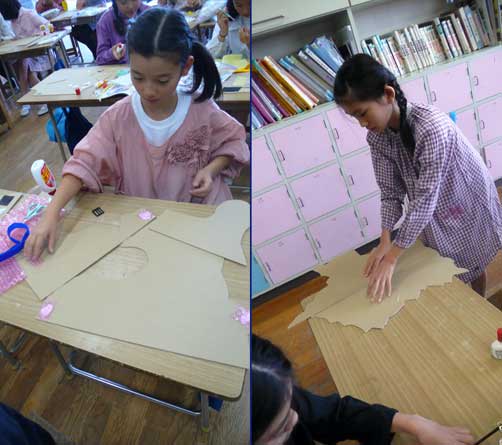
After cutting the hardboard we could put the cut pieces side by side.
The way these pieces are put together comes from artistic intuition, rather than trying to make something.
Moving each piece in different places until it suddenly seems ‘good’.
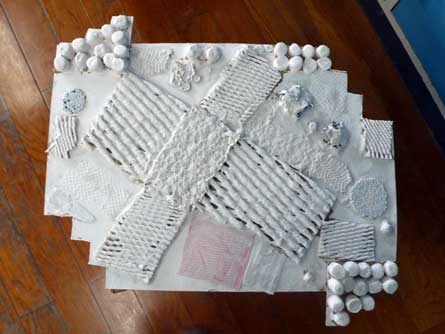
The hardboard becomes our canvas.
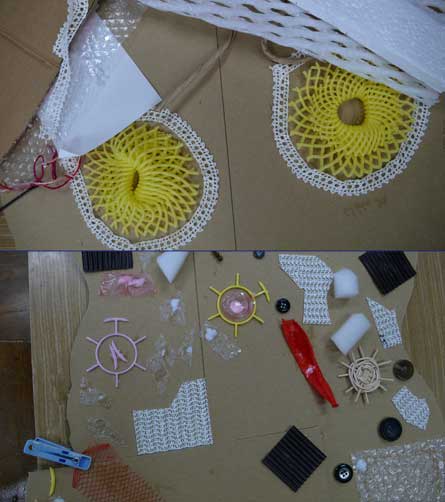
We glue materials we have collected onto the board.
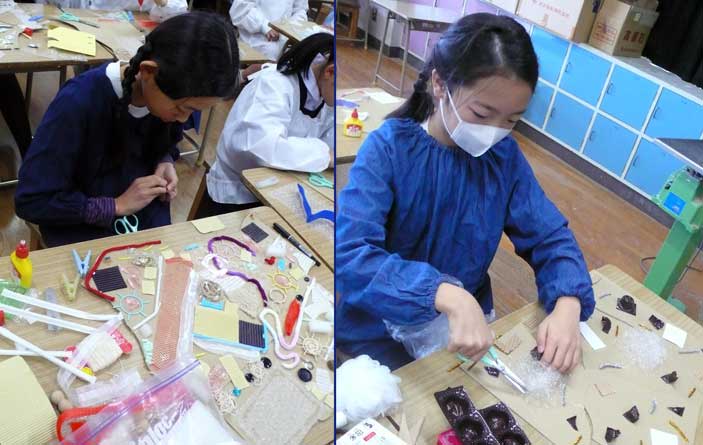
The students developed their own composition, with random pieces or repeating patterns.
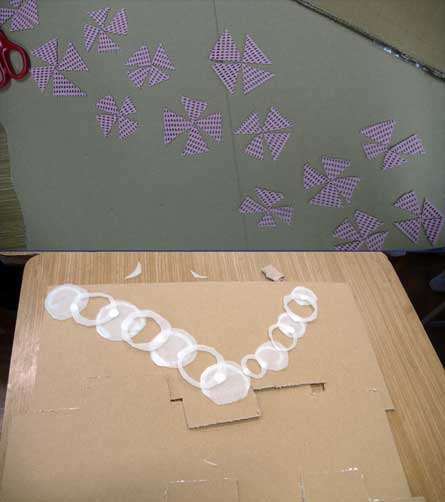
The designs could create some interesting and beautiful pieces.
“Is that liquid clay going to be wasted?”
People have asked.
“Teacher, what can we use the liquid clay for?”
Students asked.
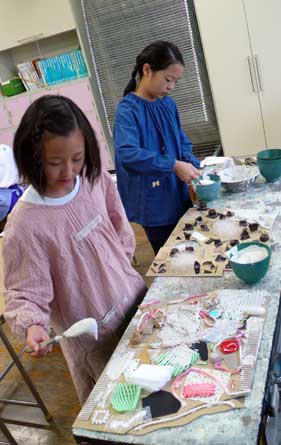
We are looking at the roughness of the surface we make, but also the colours.
After being painted with white clay there are still some irregularities of colour.
Painting onto the rough surface is very different to painting onto paper.
The size of our work means that it is too big to put onto the drying rack.
We needed a new way to dry…

Film cannisters! We used lots of film cannisters.
Since digital cameras became popular it seemed lots of children didn’t know what these were, or what they could be used for.
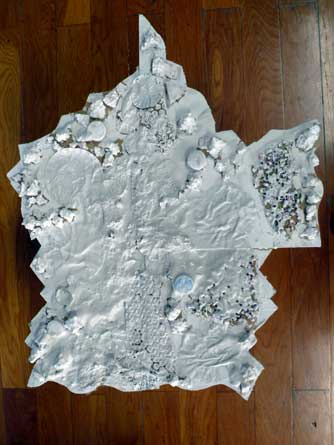
This piece now looks like a blank canvas. I’m sorry to the artist, I don’t know which way is up or down with the photo.