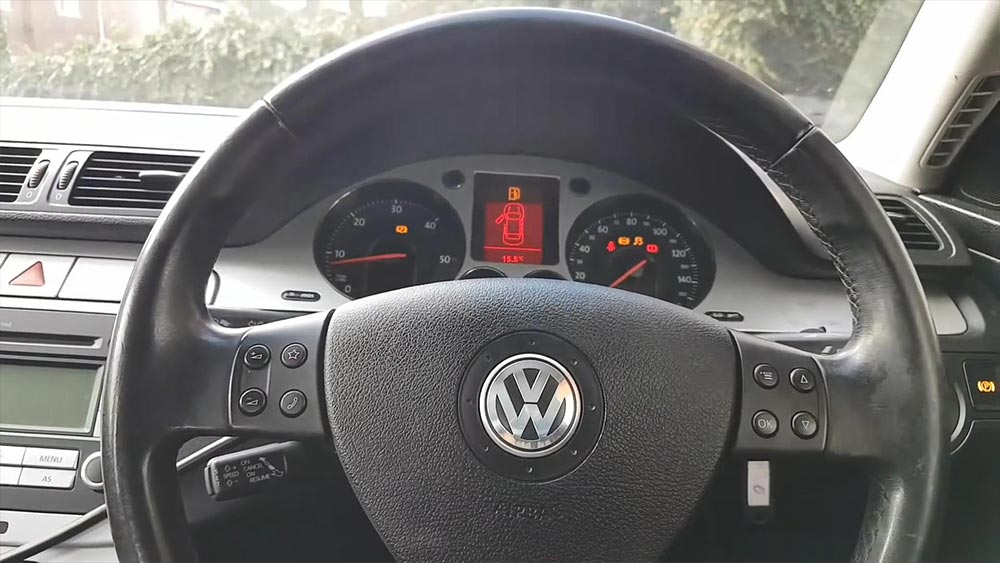
This Passat you activate the ABS every time you would put your foot
on the break, this until the ABS, ESP and Brake light was illuminated… A
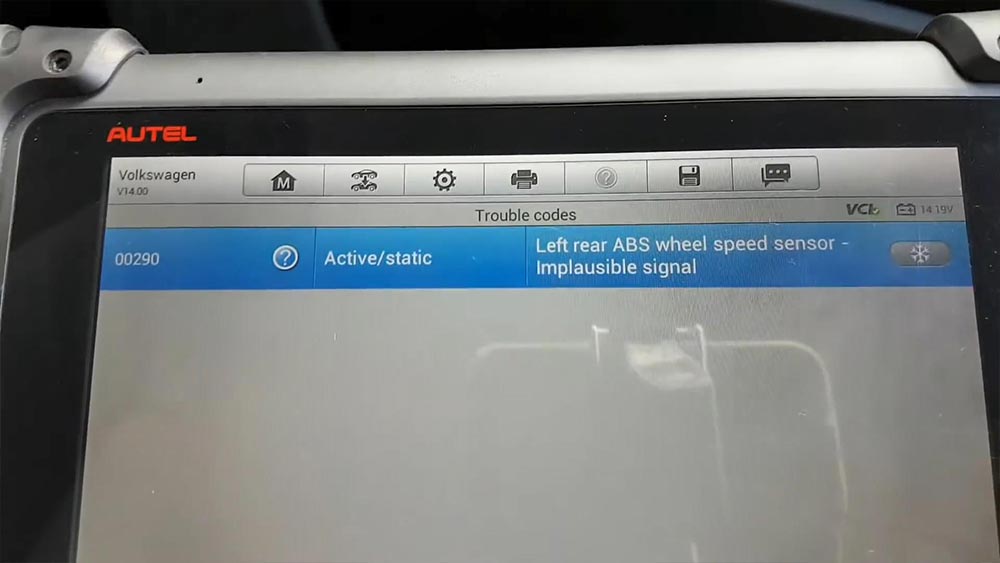
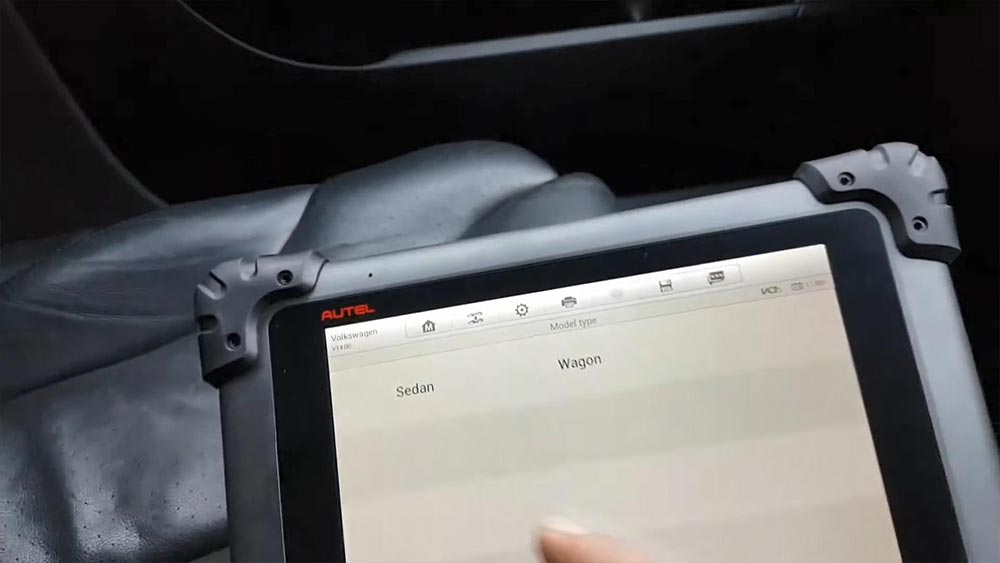
quick scan revealed 00290 by using Autel MaxiSys MS908P… But, was this a sensor problem? Follow me on this article to find out what was the problem and how to resolve it.
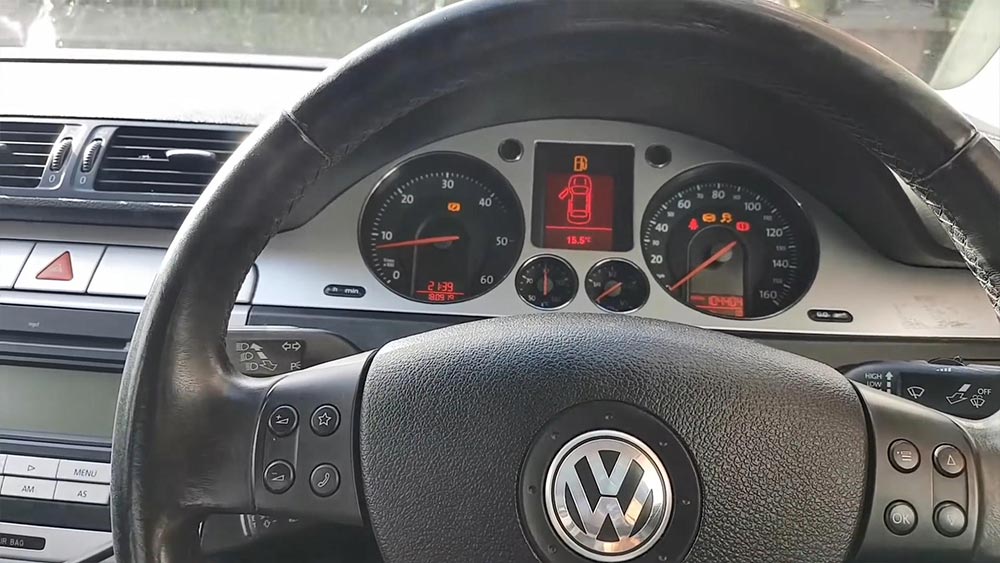
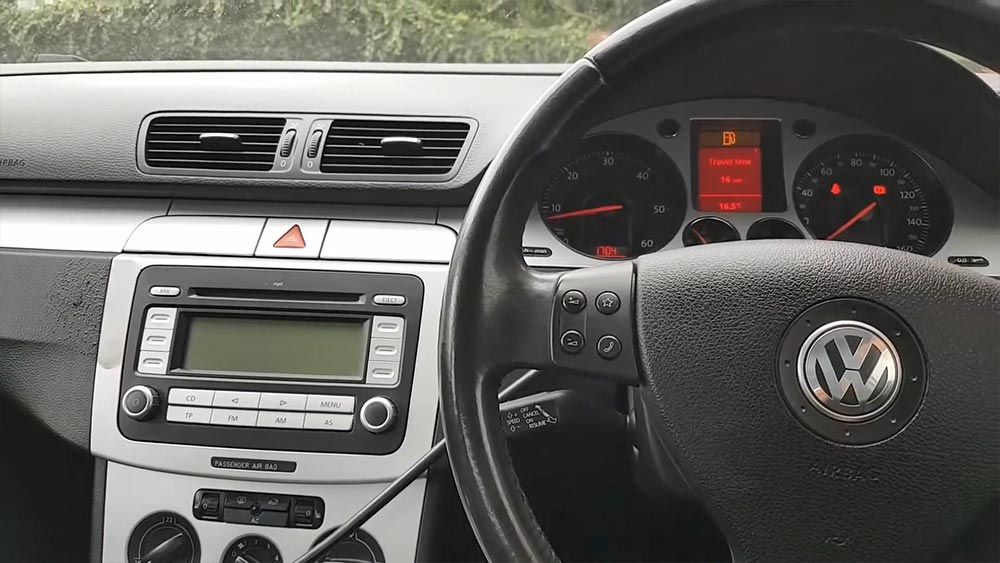
Car model and year: Volkswagen Passat 2008
The issue:
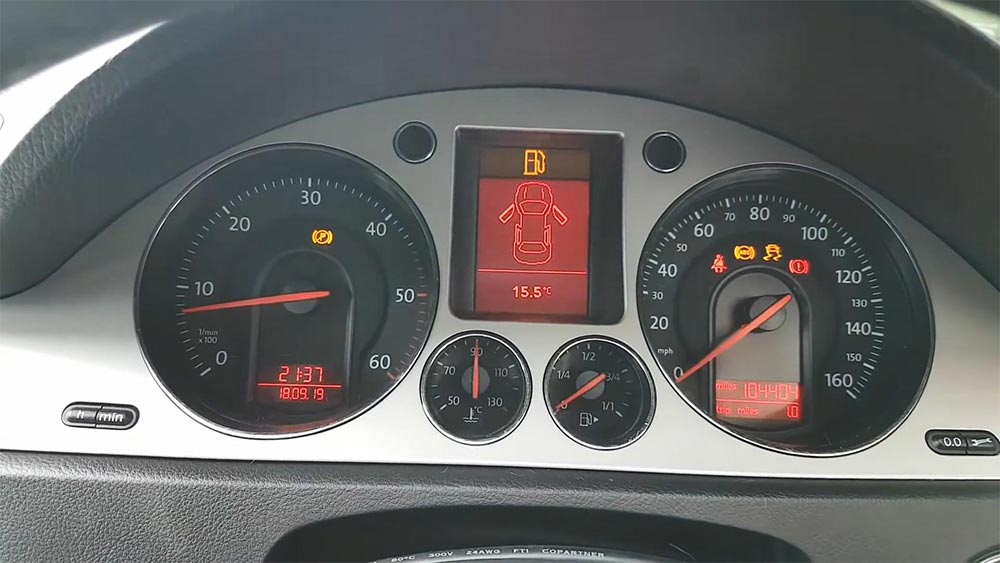
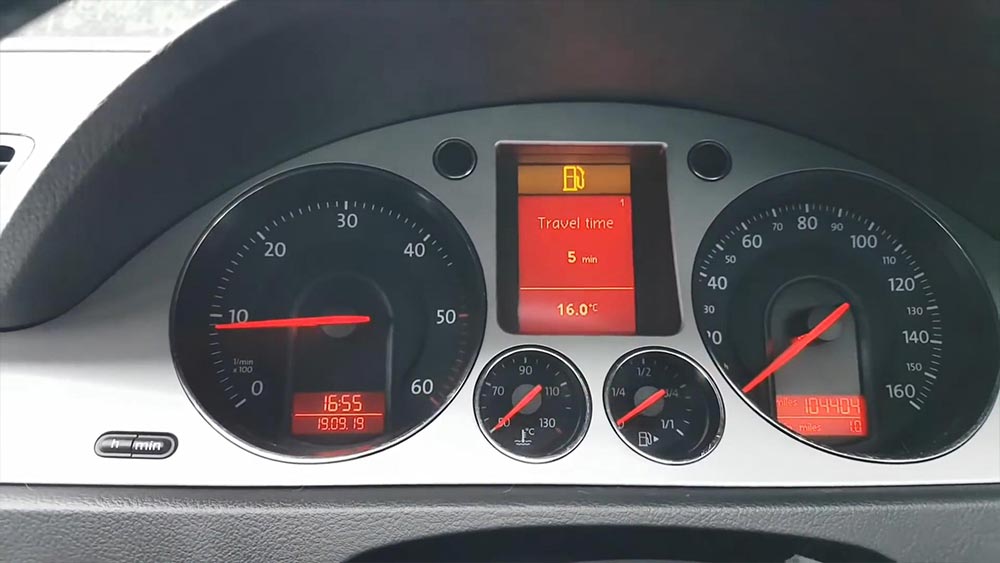
After starting the engine,
ESP light on
ABS light on
Parking brake light on
Passat Scanner to use: Autel MaxiSys MS908P
I’ve already scanned the car, the ABS code is 00290 (left rear ABS wheel speed sensor implausible signal).
when I drive the car, one of the things I notice is as soon as I put
my obviously now it doesn’t do it because there is a fault, if I clear
the fault, the fault goes away, and when I drive the car as soon as I
press the brake I can feel the ABS pump working and I can feel it on the
pedal and I can hear it and every time you break and you carry on doing
this a few times until it daily triggers the light.
What says in Autel MaxiSys MS908P, there is implausible signals, so
the pump or the unit is getting a signal from the sensor. However, when
you first press, if I clear the codes when I first press the brake. The
unit will get the signal, something the wheel is sleeping or whatever
and he’s going to obviously do what he has to do, only a few times
later, because it’s always the same thing, the unit is programmed to
obviously. See that something is now right and trigger the fault, and
that’s the reason why it took me a little bit to make the lights come
on.
Driving the car.
We go but they eventually come on as you’ve seen, so, another thing
is and let me show you because while I was there driving I did a little
bit off.
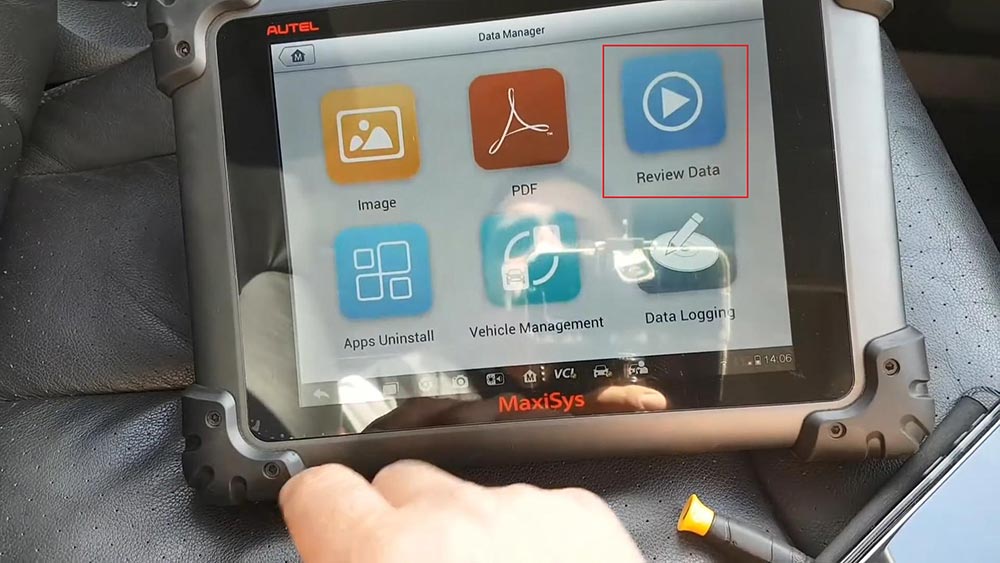
Enter ” Data Manager”.
And then “Review Data, then “Volkswagen”.
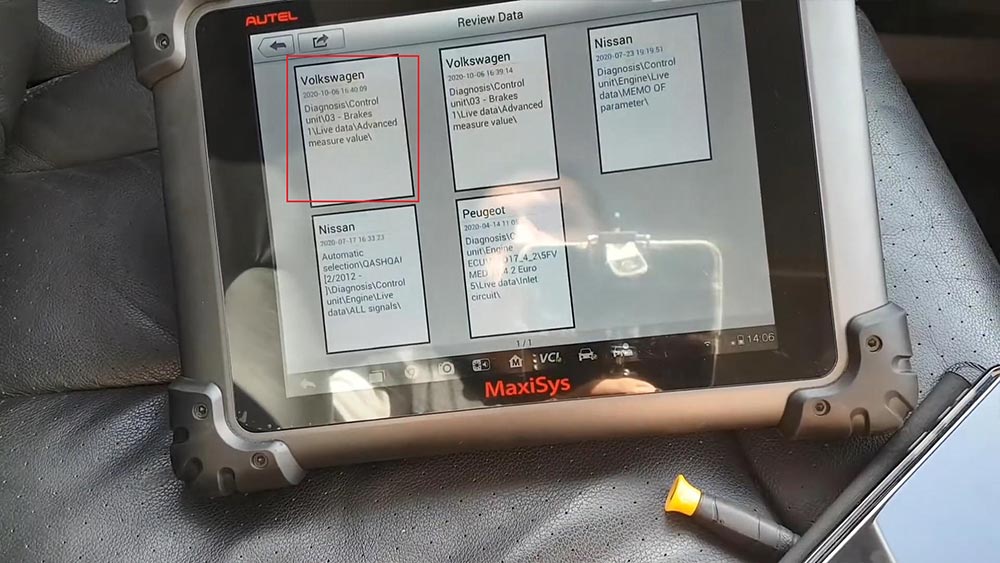
I can only do three here.
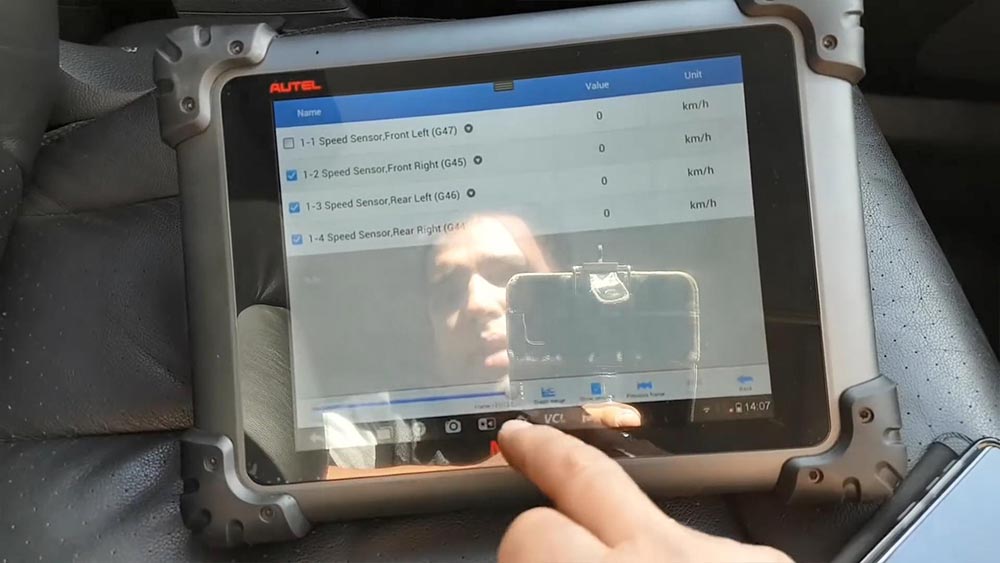
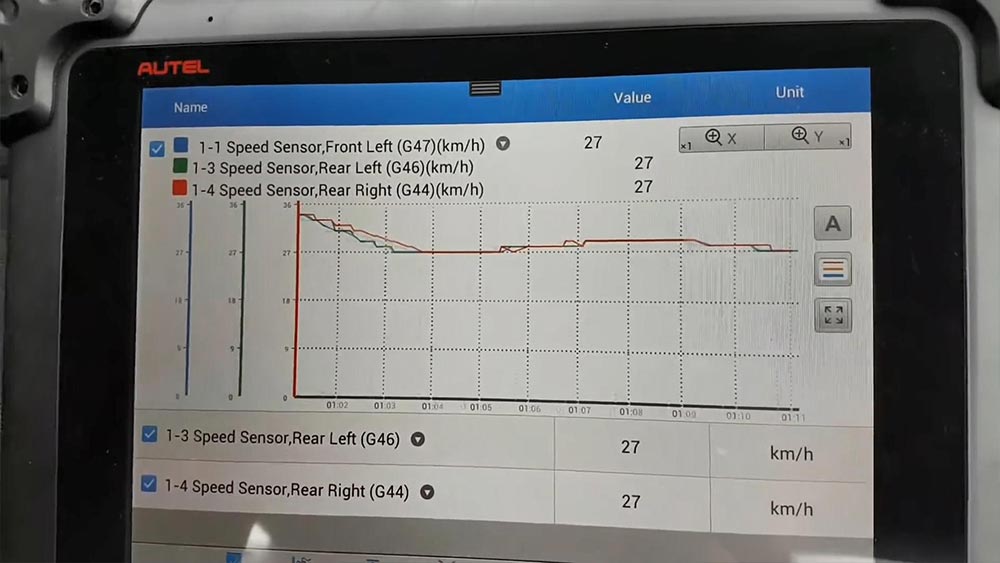
I can only do next frame, anyway I took some live data and as you can
see I have my front car, I can only have three, so I have my front
right, speed rear left and rear right so the rear left is going to be my
green and then so that should be the one that I needed to look at and
as I start to go, so I was driving the car.
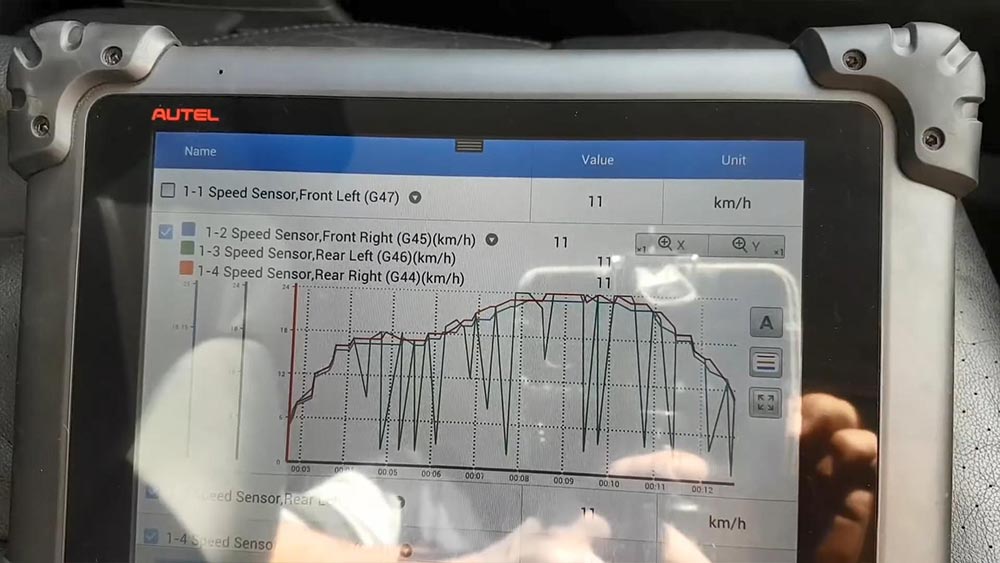
Start the drive. And then look at that the green line.
I think it’s quite self-explanatory what’s going on.
That sensor is breaking either that or a wiring problem, so the sensor is reading and dropped.
Reads again then drops all these is dropping.
So is dropping at a certain speed, so either we have a sense of
problem or we have a wire problem, most likely this answer because
otherwise wouldn’t read nothing at all I would say, but we don’t know
that yet.
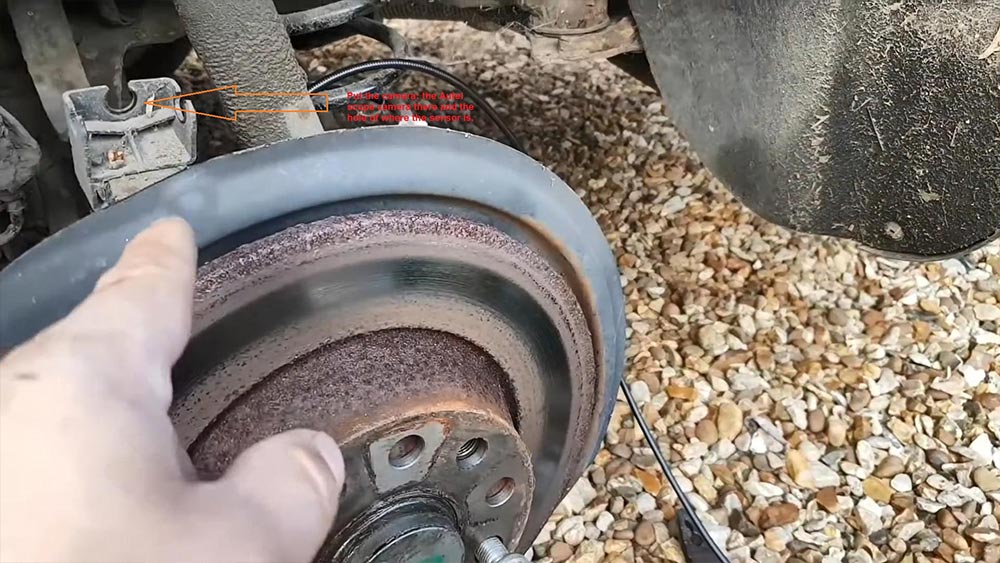
So my next step is going to be take the wheel out take this sensors
and do an inspection and go from there really now at the moment.
I think we easily established that the problem is going to be
somewhere on the signal from the sensor to the ABS or the sensor itself.
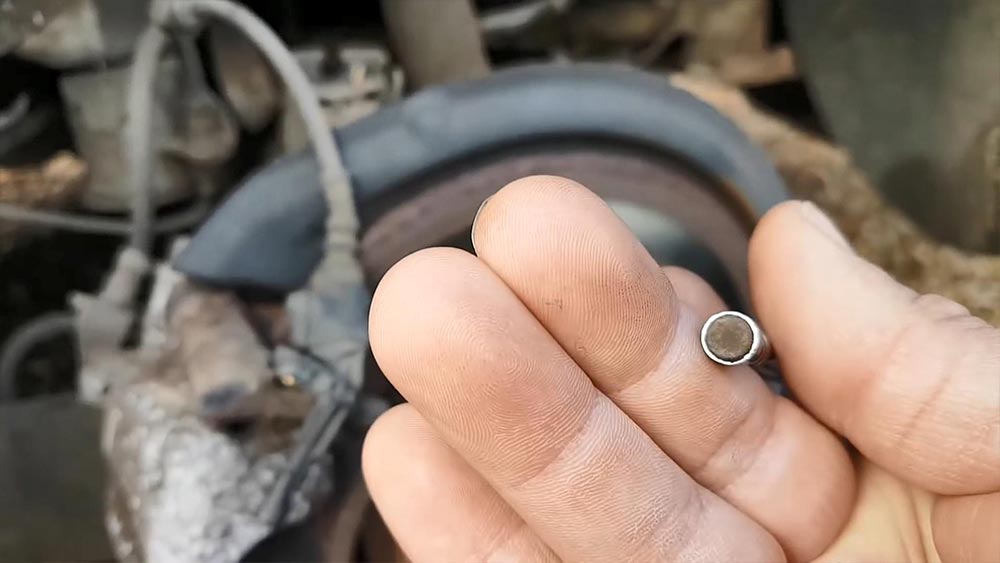
Okay guys problem found so the first thing I’ve done was obviously take the sensor off.
You can easily see that the sensor has been rubbing on the magnetic reflector ring. It’s
marks there now when I cross a magnet in front of this which I have one here.
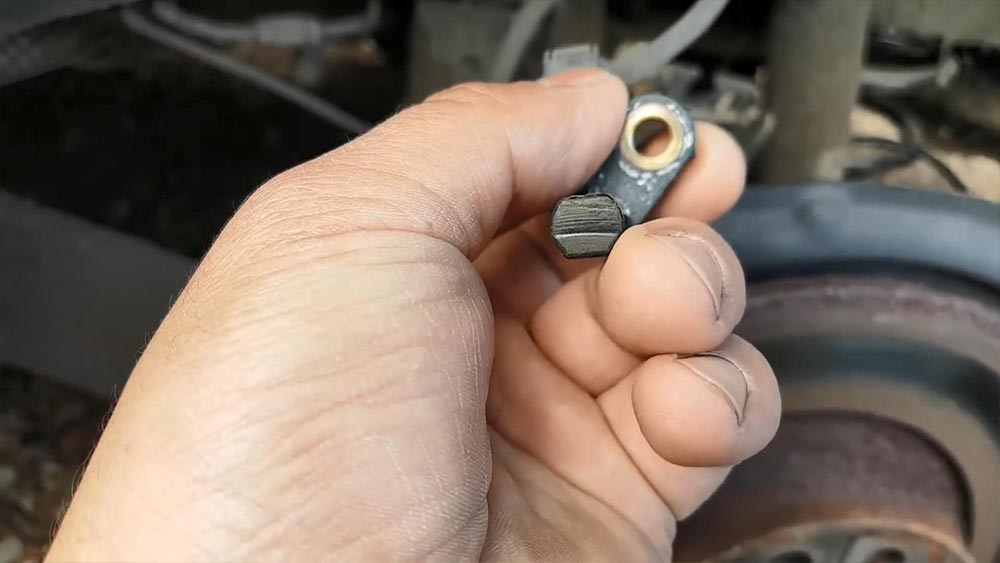
Okay, obviously it’s too big, but I can easily make a numbers to
appear on the speed of these wheel, quite erratic but doesn’t matter, it
is working cable looks okay, connection looks OK.
So because of the state of this disk and in the fact I was touching
what I decided to do was to put the camera, the Autel scope camera there
and the hole of where the sensor is and that’s exactly what I’m going
to show you now, so that’s the magnetic ring now I’m going to turn the
wheel, I know the light is not brilliant, let’s see if I can be slightly
different, let me actually put the phone down I can actually look at
this properly.
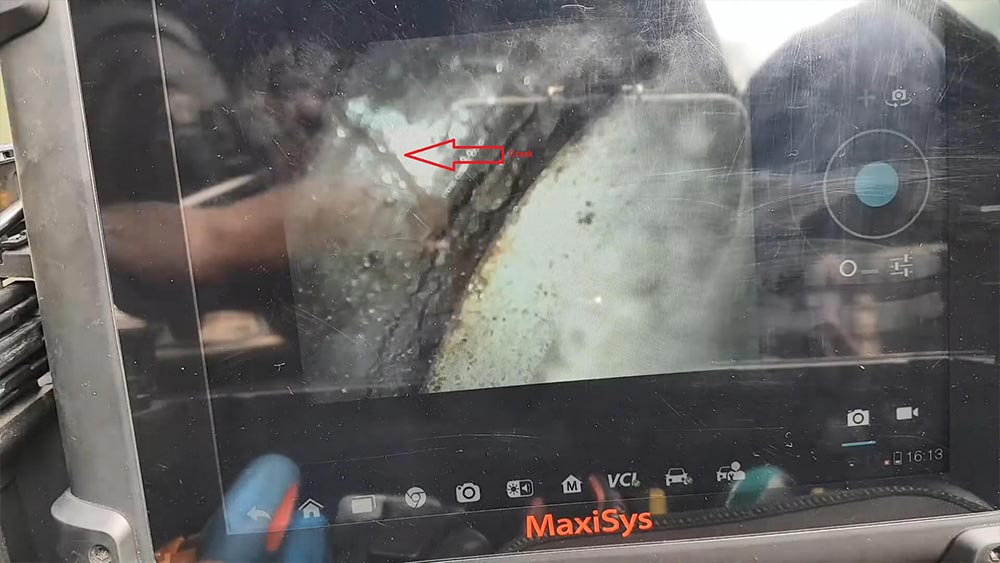
There we go, so I’m going to rotate the wheel.
Okay, so to start with I don’t know if you can see there is a crack
where is it okay, I’ll go this way, so quite a little bit of damage in
there.
oh, look at that: another crack in there, not very good, it’s a really bad, another crack right there.
Another libya missing there.
And this is the worst point, look at that, so the magnetic layer look at that there is and then there’s there.
You just finished look the other way. It’s missing, you can see how bad it is. It’s completely gone.
So when he goes through this area here is when he fails to read look all gone and then comes up again, you can see there.
Then you have the ring again, if I go back.
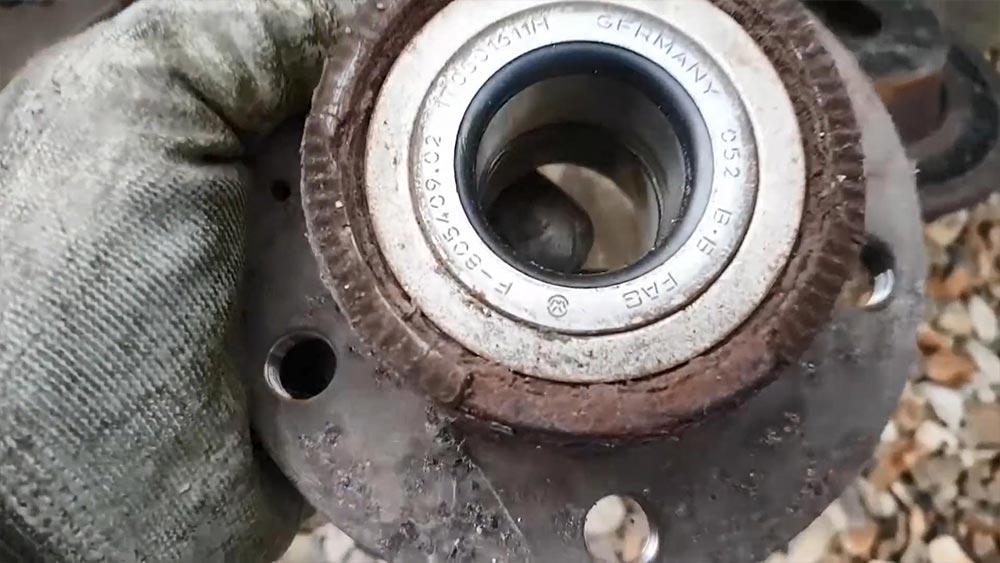
it literally needs a new hub, a new bearing as far as I’m aware, this
is attached, is one of those bearings with the reflector ring at the
back, so it’s going to need a new hub, there’s nothing else I can do,
most likely still okay, so we’re gonna get a hub and when I get a hub
and replace it test it.
and should be about it really I think.
Good I have the camera, otherwise it will be very difficult to spot
and hold bank it would be a little bit more tricky to diagnose but they
we go there, we know what the problem is now that’s going to get the
parts and get these going.
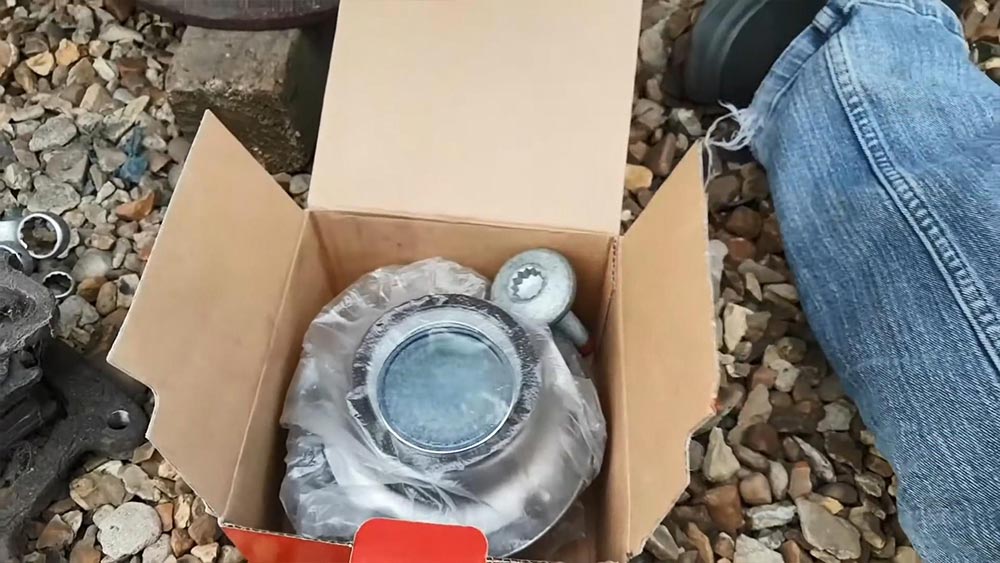
And there is a brand new one, so let’s gonna crack on with this and get it replaced.
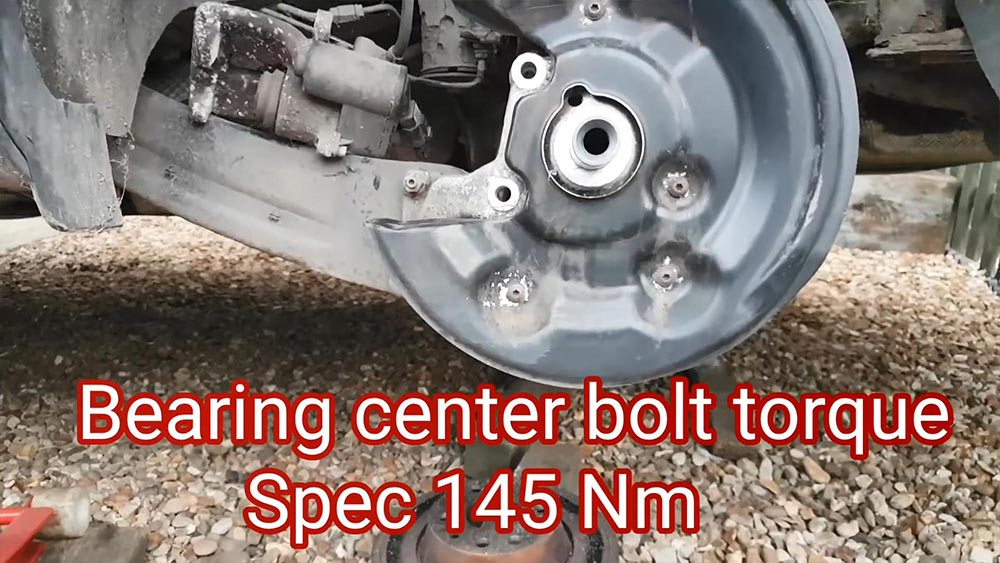
Right, caliper is out honestly this car is in need of a break job to
be honest with you it’s really bad, right now we’re going to take the
carrier, so we can then take the disc and then have to take the bearing.
Okay, and he was definitely a challenge to take the carrier out ready hurt myself
And funny enough I didn’t even hurt myself here, hurt myself closing
the drawer on the Van, radio anyway so that’s out was definitely a
challenge to take these two bolts from the carrier, the bearing I think
just a spur the camera.
That we’ve seen: no rocket science.
Just come out.
so the new bearing, so just curiosity comes with a new cap comes with
a new bolt so we’re not going to reuse the bolt it comes with a new
bolt.
And I’m going to put everything back on, I’m not going to take you
through the law, I’m just literally gonna put everything back on. I’m
going to probably take the calipers give you a good clean and a little
bit of Chris at least on this side because I’m touching it.
For now I’m going to put everything back on because it’s getting dark
even though it might not look on the camera but it’s getting dark and I
want to get things done today and tomorrow, I’ll try the car tomorrow
morning, but yeah for now I’m not going to take you through anything
else just put everything back on.
Alright, I’m glad I did the thing yesterday because.
right, let’s go to clear these lights to start with a vision clear
the car yet so I’m going to clear the lights and then we’re gonna go for
a drive and fingers crossed, the problem is solved.
Okay, we cleared fault free let’s go.
Okay, first thing: no lights; secondly, I definitely can see oil I
can’t feel that and what you call it I can’t feel the pedal a vibrating
anymore, so there is no activating the ABS, anymore, when I press the
pedal which would happen like.
Even like now if I press the pedal I could feel it, it’s absolutely perfect now, no lights come back on everything’s good.
I’m just gonna turn around and load the live data from Autel MaxiSys
MS908P once more, just curiosity really because I know we fixed, but
just to show you guys, I’ll show you the live data just for you to see
that and this is OK now, so let me just turn around here and I’ll show
you.
Okay, so here we have it so real left as you can see up there is the green line, so I’m going to start to drive.
There we go. I think is self explanatory. Beautiful.
That’s it.
And back home and ready to move to the next, and last issue with this
car, so stay tuned, but for this one guys as you’ve seen problem is
fixed cars driving absolutely spot on and in the end was just that
reflector ring on the bearing, sensor is OK, the sensor is the same one
as before, and yeah that’s it guys, we got it fix.
One thing that I would probably say is that the way I look at this
unless the other side has been changed recently it might be very close
to having the same who knows, but for now he’s fixed guys and that’s the
main thing, so that’s gonna wrap up these guys, I hope you enjoy this
article, hope there’s some information, whatever you’re going to find
useful.
Enjoy!