I retrofitted the Heated Steering wheel on 2016 958.2 Porsche GTS,
because I missed my heated wheel. I bought a new heated wheel and the
heated wheel button so I can disassemble my current wheel and reassemble
everything onto the new wheel. I am just having an issue with what
exact part is needed. do I need a completely different part that isn’t
the clockspring? And do I need to buy a new part or is a used one
acceptable?
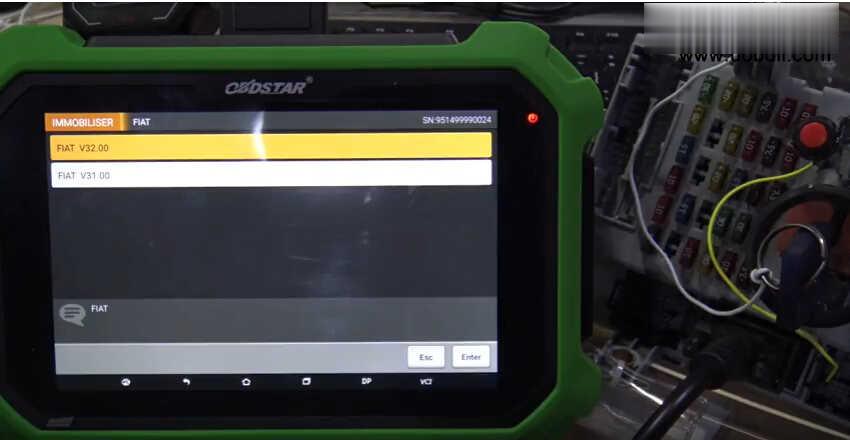
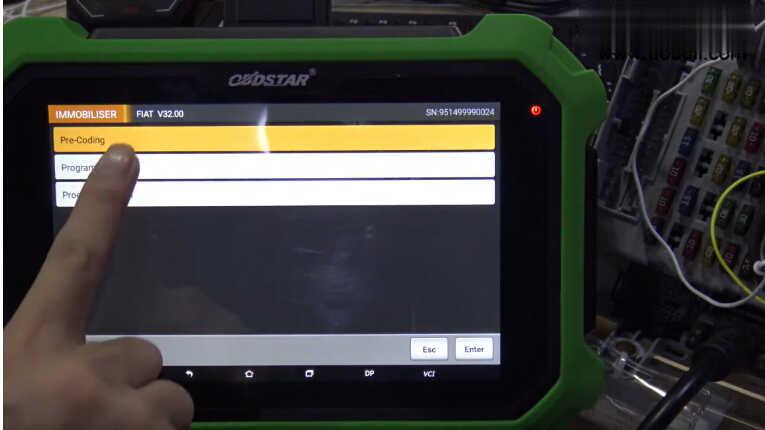
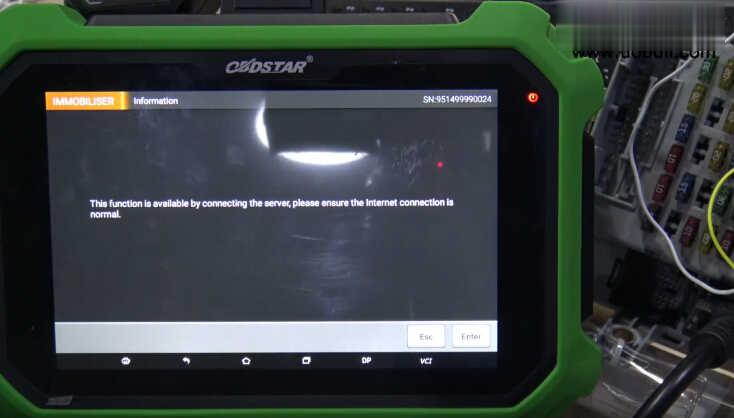
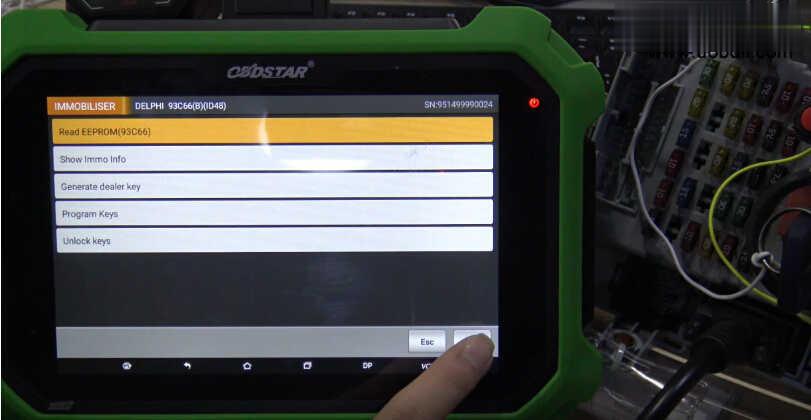
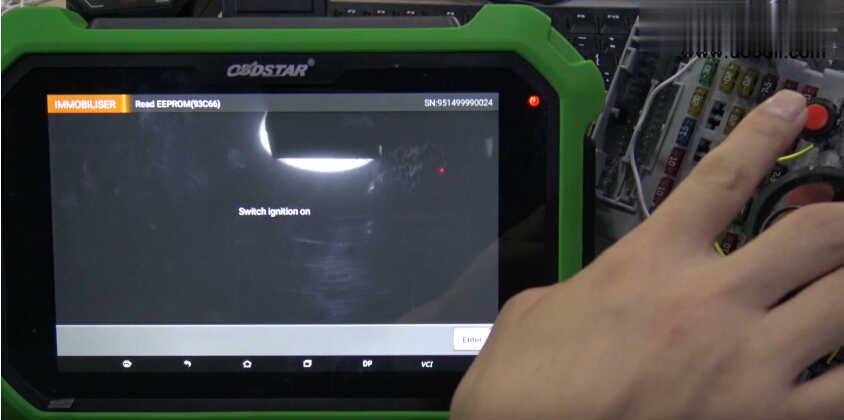
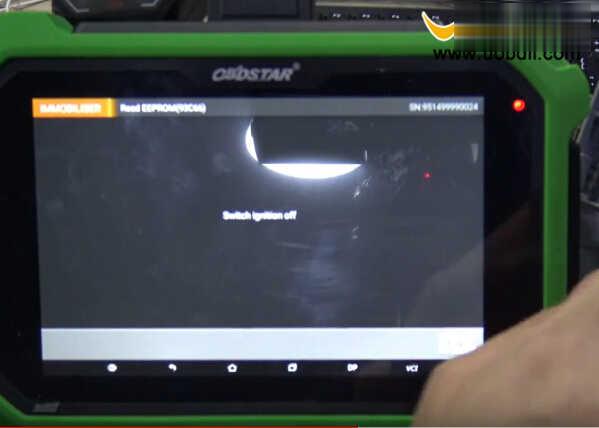
And then on to coding it, what exactly needs to be coded? I have a Launch X431 proS mini that does most coding and hopefully will do whatever is needed.
I will record all what I did:
Date: 09-19-2020
I’ve done more digging and it seems it could be easier than I
originally thought. At this point it looks like I only need a
clockspring with the heated wheel power pins, part # 95B953568A or
95B953568C or 95B953568E from a 15-18 cayenne or Macan.
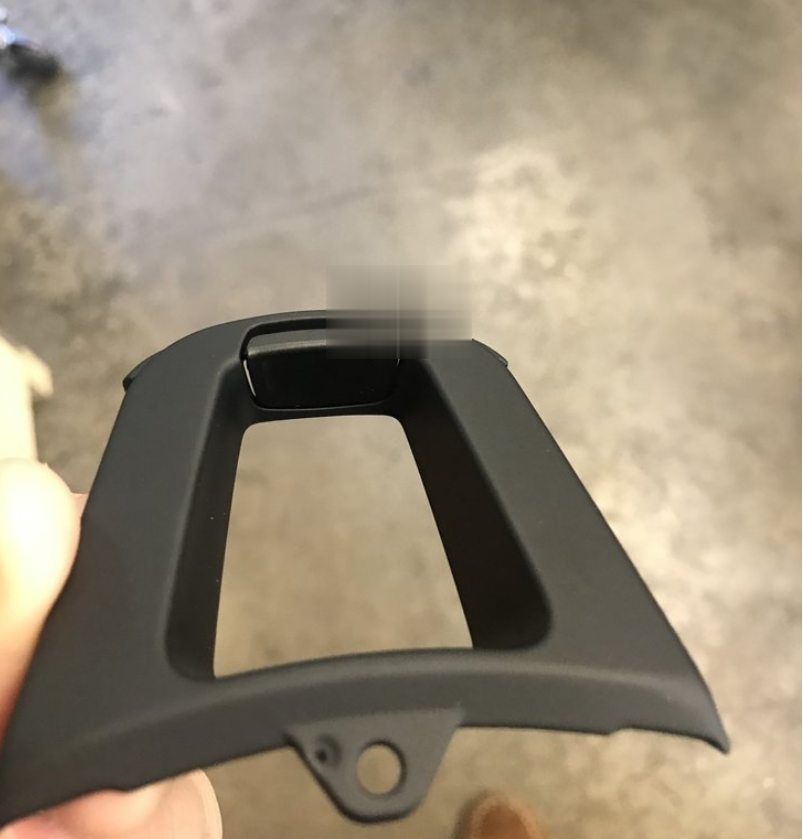
I already have the heated wheel and heated wheel switch. Once I find
the clockspring and install it all I will need to do a steering angle
sensor calibration and then code the steering wheel control module to
accept the heated wheel.
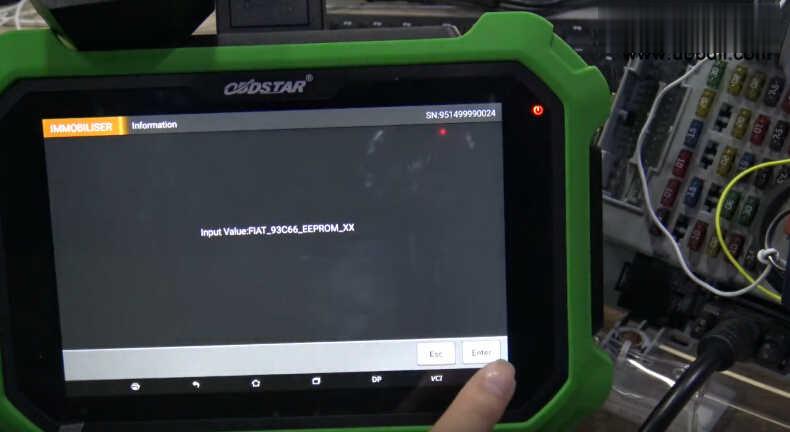
I have a Launch X431 pros mini and confirmed last night it will do
the steering angle calibration and I was able to get into the steering
wheel control module to where it said heated wheel not installed. It let
me change to installed, but would not write the code because it’s not
yet installed hopefully.
I did also see a thread on a Macan where the person used a used
clockspring and the steering wheel control module from another car with
the heated wheel already coded and it worked for him, but still had to
do the SAS calibration.
Date: 10-09-2020
I now have the clockspring with the heated wheel
contacts, the heated wheel switch, and the heated wheel will be here next week and I will update on the outcome!

Date: 10-13-2020
The wheel should be here any time now.
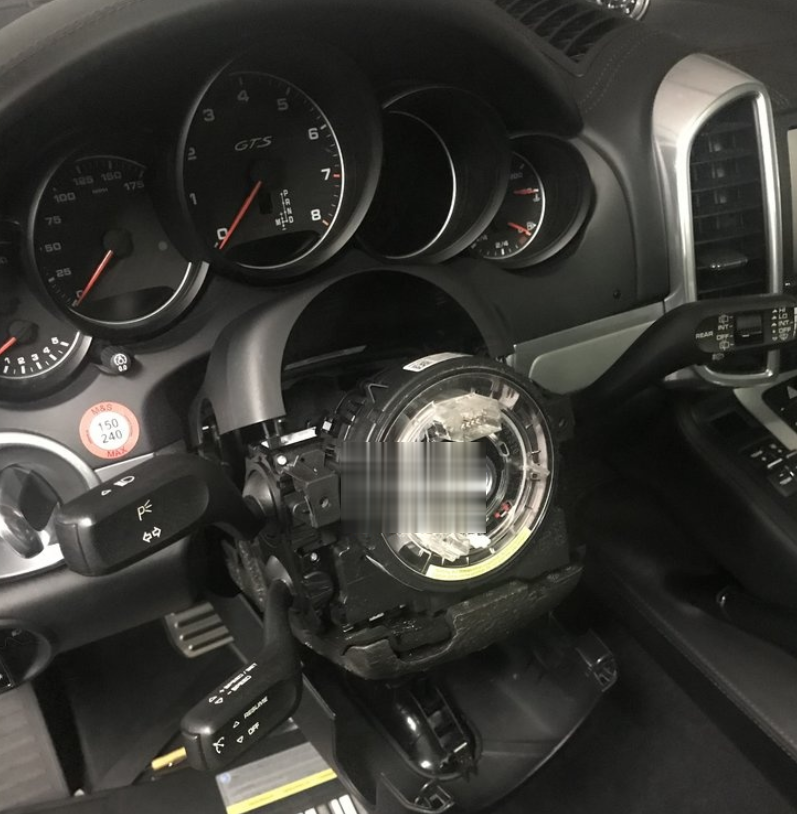
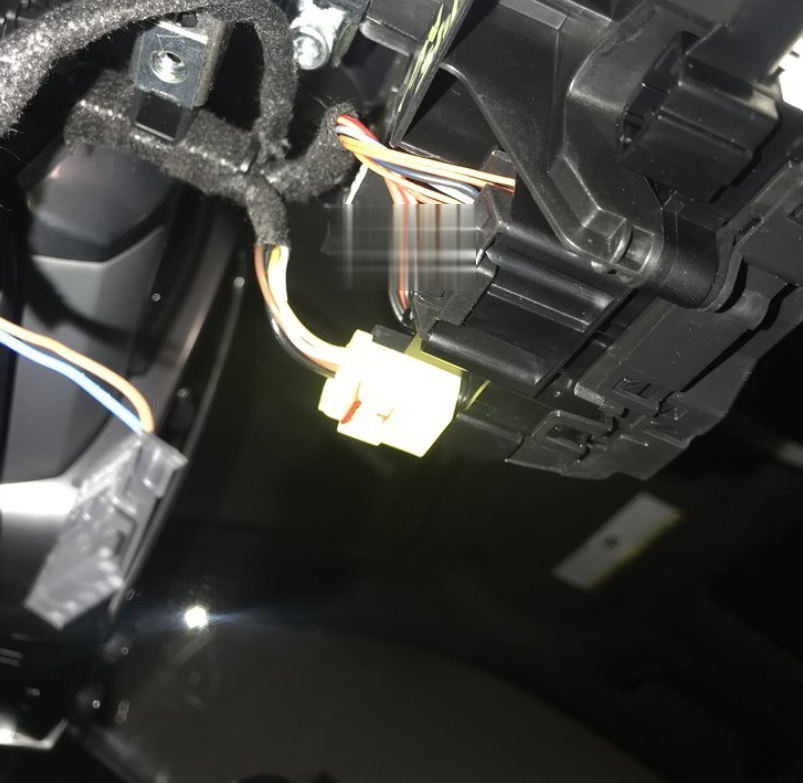
Last night I disconnected the battery and removed the airbag and
steering wheel. The column trim came off pretty easily, once the
steering wheel is off, there are two square holes behind where the
steering wheel is on the lower column cover, using a small screwdriver
slightly push in through those holes to release tabs and the upper cover
hinges at the rear and comes off. The lower cover had two screws and
some tabs inside the column cover that have to be pressed and it slides
down and off. Disconnect the one plug on the power column switch. There
is a foam piece screwed up to the bottom of the column with two t-20
screws, remove those and the piece comes off. Now you can get to replace
the clockspring. One black connector and one yellow airbag connector on
the lower backside of the switch assembly. I bought a used clockspring
and switch setup, identical to mine but also included voice control and
the pins for the heated wheel harness.
The new and old setup had the exact same pins on the connector.
After the two connectors are released there is one Allen bolt, I think
it was a 6? I forget. And the switch assembly slides toward you. Only
goes on one way, it does not turn or anything, it will always be
straight. Slide the new on on until it abruptly stops, tighten Allen,
plug in 2 connectors, reassemble column trim. The foam piece goes on
with the two screws, make sure the harness for the column adjust is
still there. Clip the lower colum trim on on the sides, and then screw
in the two screws. The upper trim piece was a PITA to get back on. It
doesn’t hinge down like it hinges up off. To put it back on it slides
straight down into place, but as it slides down you have to make sure it
aligns with the bottom of the column trim behind the stalks. Took 10
minutes fiddling to get it right.
I then disassembled steering wheel down to the metal frame and am waiting on the new wheel which should be arriving shortly.


Okay, have everything swapped to the new wheel, new wheel is
installed, battery back on, cleared faults and performed steering angle
sensor adaptation (using x431 pros mini), all is good and back to
normal.
The clockspring and switch setup I bought is from a 2017 Cayenne. I have
a 2016. 2017 has the PCM4.0 and a newer instrument cluster display with
more pixels and different menus. So my diamond button worked, but
neither telephone buttons or the back button worked at all, and now my
right scroll wheel controlled volume and left scroll wheel controlled up
and down cluster screens, but neither would click.
I got that recoded, there are two different communication protocols, I swapped it and all buttons are working properly again.
The steering wheel control module plugs into the clockspring
assembly, and then the main car harness plugs into the clockspring. So
it applied changes that the donor car the switch setup came out of,
changed the communication protocol and it also coded the control module
to have the heated wheel active. But it doesn’t work.
The voice control button works, but on the radio screen it says function
not active. This is making me wonder, I believe the steering wheel
control module has to be both coded and an activated for it to work.
I am going to keep working on this and get back to everyone.
-Heated steering wheel
-Heated wheel switch if you don’t get a complete wheel
-Clockspring with heated wheel power and ground pins (I used a complete clockspring and stalk assembly from a used car)
-PIWIS or Launch Computer to clear codes and recalibrate steering angle
sensor, make sure steering wheel and instrument cluster are coded for
the wheel and most importantly to input the activation code for heated
wheel. (Activation code can only be obtained off the grey market
porsche-code.com )
Everything I have touched is working like normal, no changes to any
buttons or stalks, car is totally normal at this point but the wheel
doesn’t work yet.
It looks like a new uncoded steering wheel control module is needed
in my case. My factory module will accept the coding but won’t allow the
wheel to work, and does not recognize when the heated wheel button is
pressed. Another member ran into the same issue, everything coded and
activated but a no go, replaced the module with a new one, didn’t even
have to code anything and it instantly worked. So I am hopefully that
will work in my case as well.