The software is 9.4 9.2 engineering level, CNH EST 8.6 software is
dealer level.engineering level has more functions than dealer level and
CNH 9.4 9.2 is with diagnostic procedure.
NOTE:
1.If you choose Heavy Duty Truck Software CNH EST 8.6 Dealer Level Software, we will provide you with a registration machine, and you can activate the software yourself
2.If you choose CNH EST 9.4 9.2 Dealer Level Software for 1 PC activation (we will remote help you installation by teamviewer) Full license
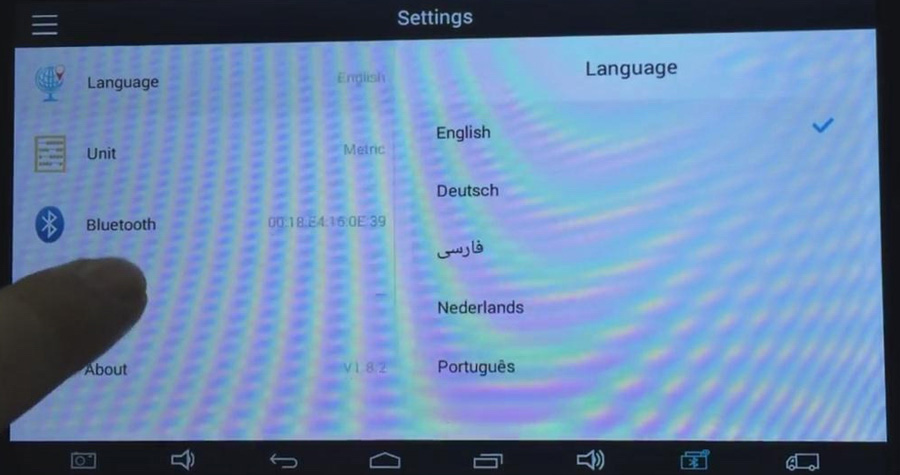
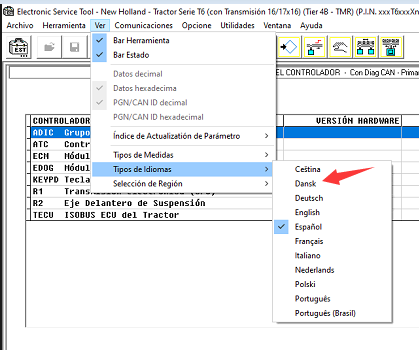
Supported languages: English, Italian, Russian, Polish, Spanish, French, Portuguese, German, Dutch, Danish.
The brand new version of New Holland CNH EST works with OS Windows 8 64 bit / 8.1 64 bit / 10 64 bit, except Home
editions). If you have windows 7, we can offer you a previous version of
CNH EST, as the 9.4 versions no longer support Windows 7 and in some
cases won’t even loading.
New minimum PC specifications
All computers must use a 64-bit version of their operating system. The
older 32bit options are limited to 4 gigabytes of RAM, and cannot
provide enough performance to run these programs.
Minimum Specifications
Processor: Intel Core i5 Processor or higher;
RAM Memory: 8 GB or greater;
Operating System: Windows OS: 64-bit (Mandatory)
Windows 7
Windows 8.x
Windows 10 (Recommended)
Hard Drive: 250 GB or greater;
Ports: One 9 pin Serial port (preferred) OR USB to RS-232
Converter – FTDI Chipset)
Two USB ports
10/100 Ethernet
WiFi 802.11b / g
Bluetooth
Mobile Wireless (recommended)
The following brands of the CNH group are covered:
New Holland (Agriculture and Construction)
New Holland FK (Fiat-Kobelco)
New Holland O&K (Orenstein & Koppel)
CASE (Agriculture and Construction)
STEYR
KOBELCO
Iveco (Astra) (articulated dump trucks only)
Flexi-Coil
Sumitomo (S.H.I.)
Link-Belt
New Holland Electronic Service Tool allows you to:
• Check the status of parameters;
• Retrieve faults;
• Run diagnostic tests;
• Make ECU and parameter programming;
• Monitor active and logged diagnostics;
• View and change ECU configuration;
• View diagnostic procedures and schematics.
• Troubleshoot problems;
• Run scope diagnostics;
E.A.S.y – additional engine diagnostic and download tool for
connection directly to ECU to perform diagnostic, programming and ECU
reload by K-Line protocol.
CNH Engine Download Tool operates from within the EST program to perform the following engine download operations:
• Provide Engine Control Unit (ECU) programing update capability;
• Provide blank ECU initialization and programming capability;
• Provide ECU programming reassignment for blank and other ECUs;
• Provide ECU download crash recovery.
NOTE:
This DPA5 can perform diagnostic, programming and ECU reload by K-Line protocol with E.A.S.y software for Iveco engines.
CNH DPA5 Interfaces OEM 380002884. This interface is Working 2 CAN
and K line ( for diagnostic CASE and New Holland with IVECO Engine with
EASY under EST
Second Hand Laptop Lenovo T420 Laptop Specification :
Brand: Lenovo
Condition: Used
Type: Laptop/Notebook
Screen Size: 14.0
Processor Type: Intel (R) Core(TM) I5-2520M CPU
Processor Speed: 2.50 GHz
Processor Configuration: Dual Core
Memory: 4GB
Compared with other laptop, this one is better quality and run faster.
Package :
1.cnh est DVD for 1 PC activation (we will remote help you installation by teamviewer )
2 .Dearborn Protocol Adapter 5 (DAP5 white interface) full New interface for New holland and Case
3.Usb cable
4.New 9-pin Deutsch CNH cable
5.ToolBox
One Year Warranty
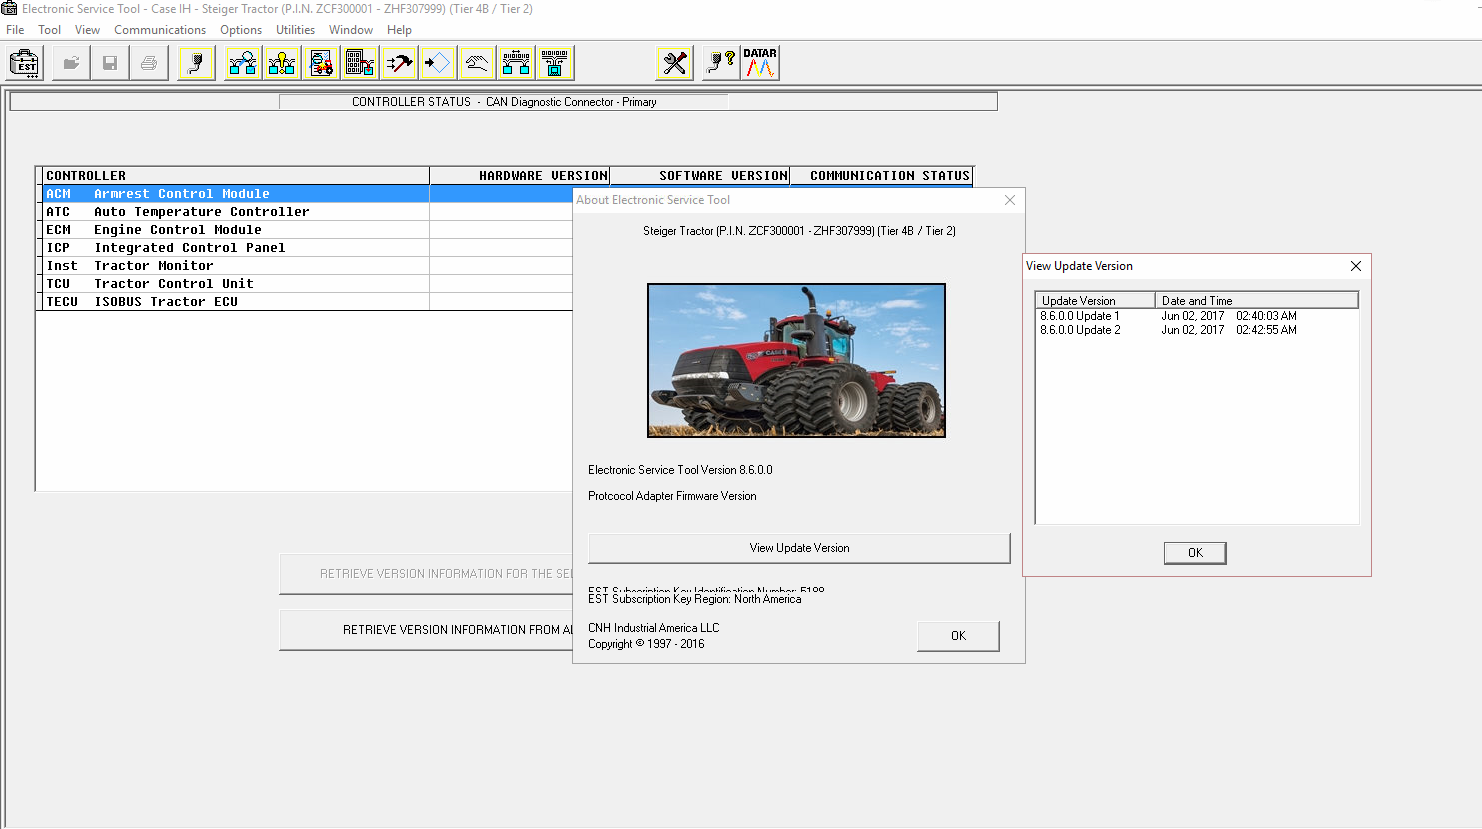
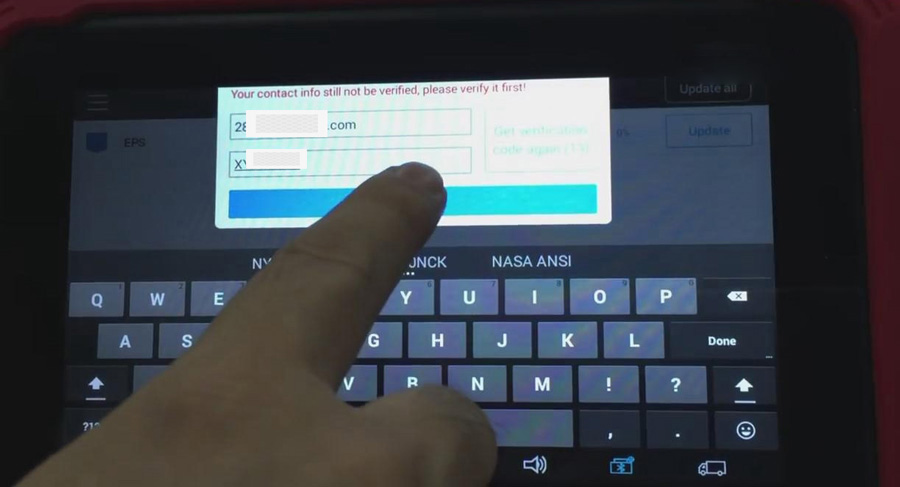
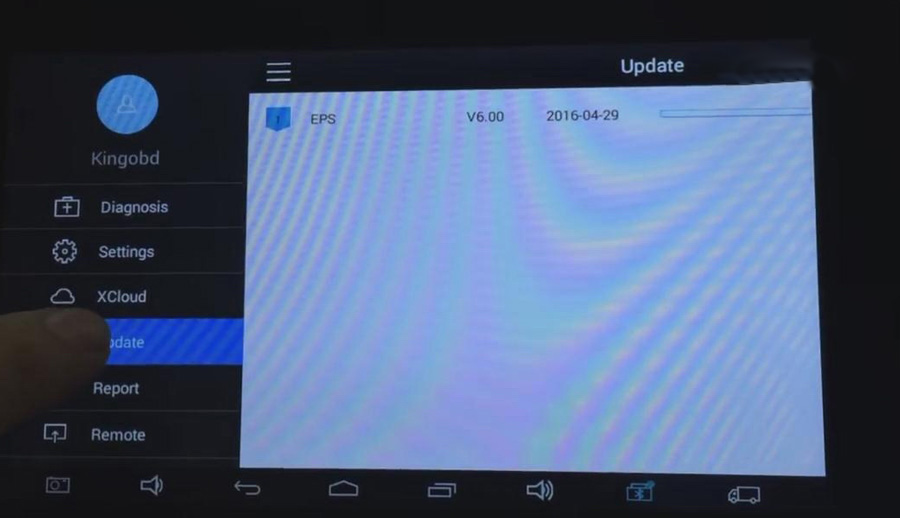
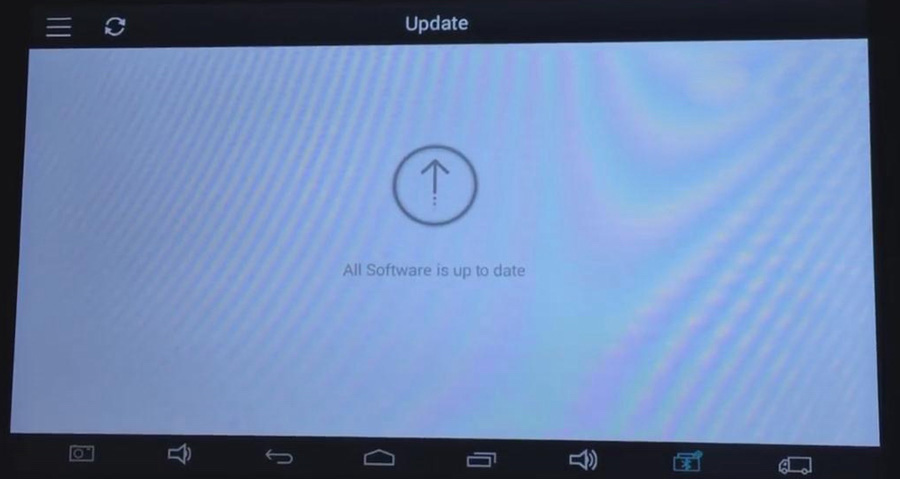
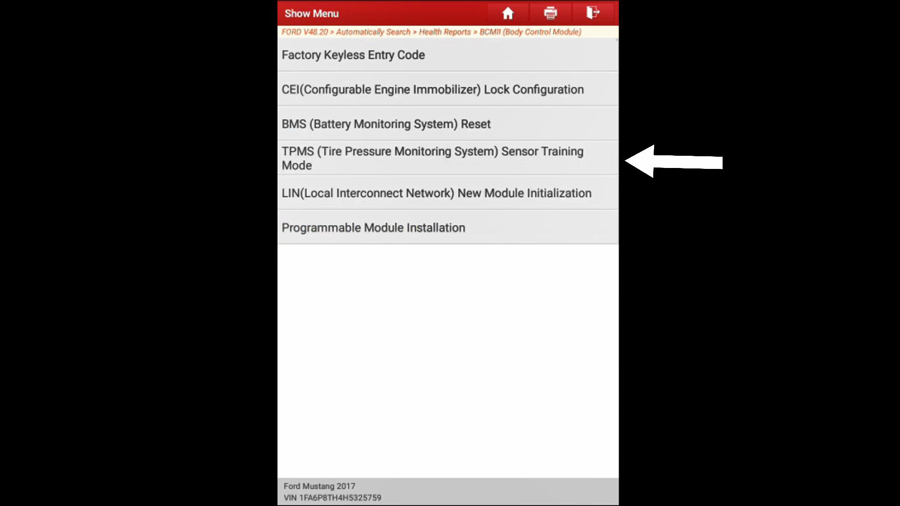
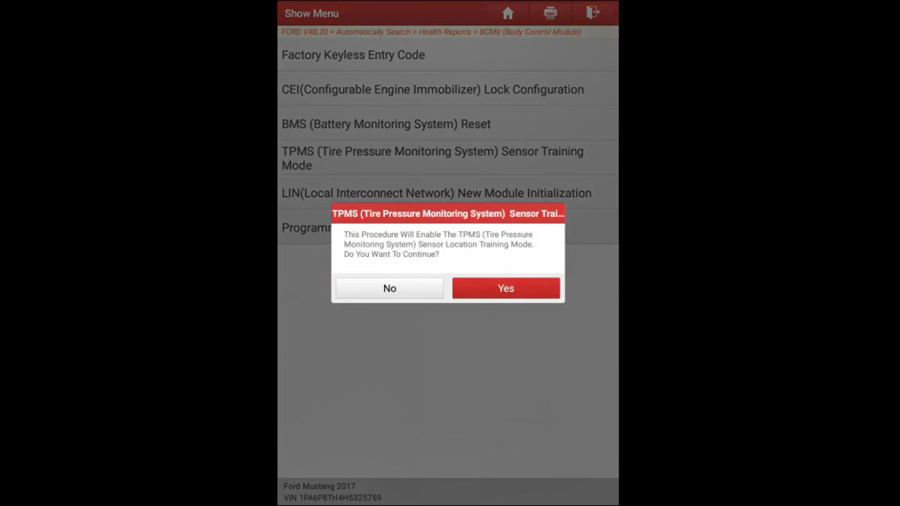
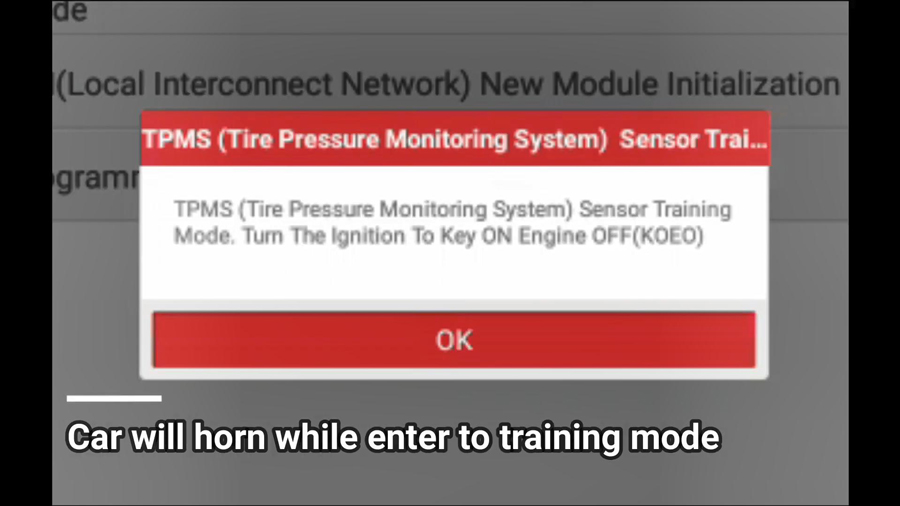
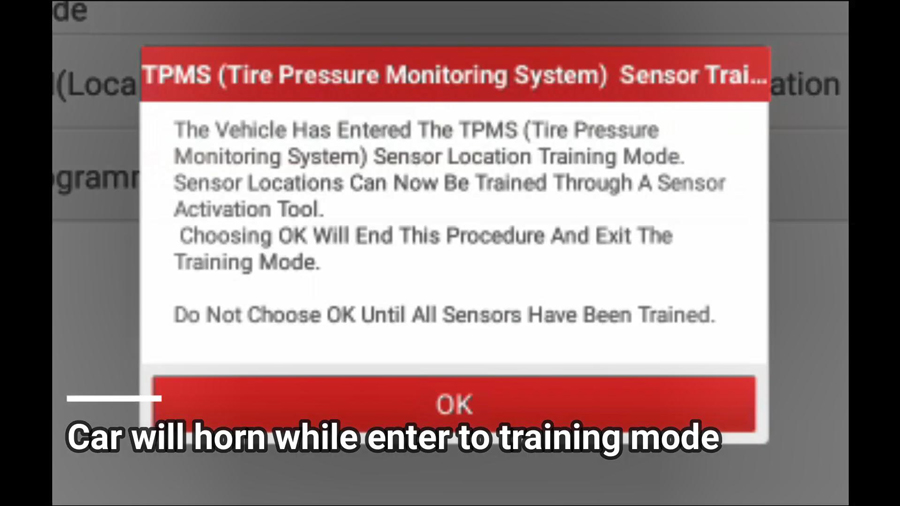
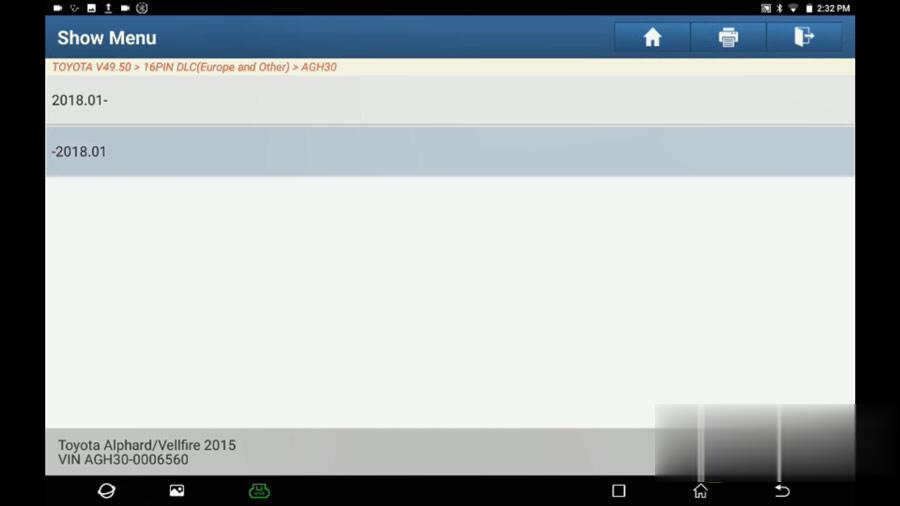
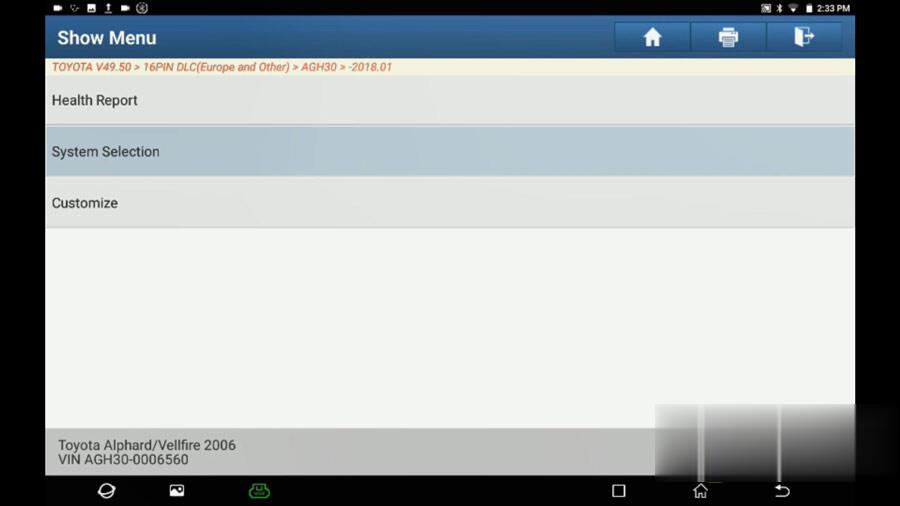
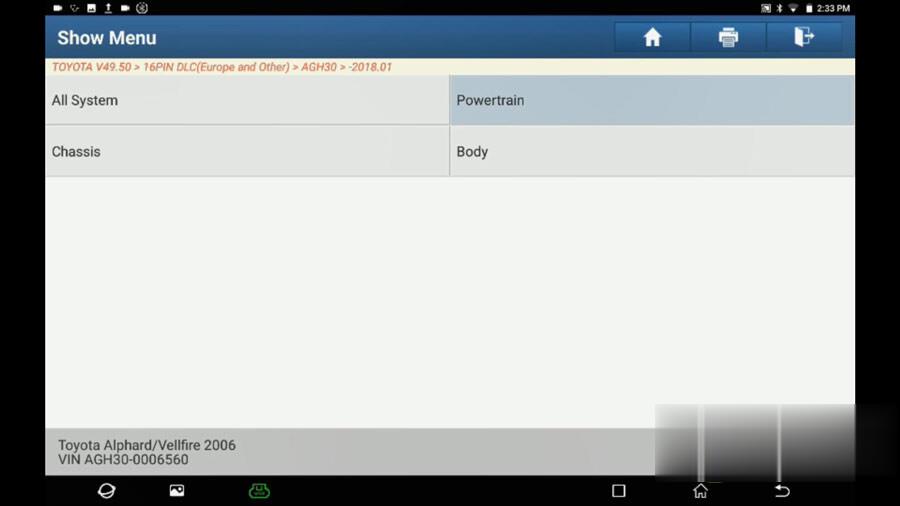
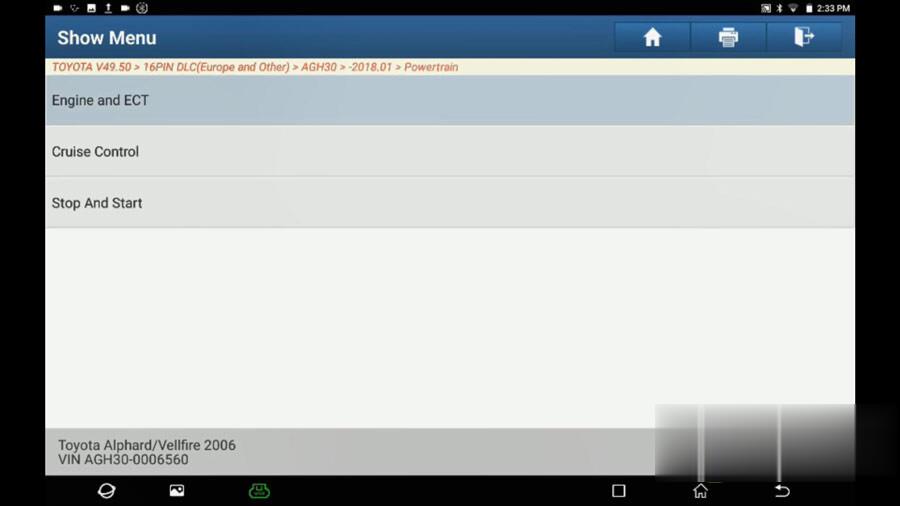
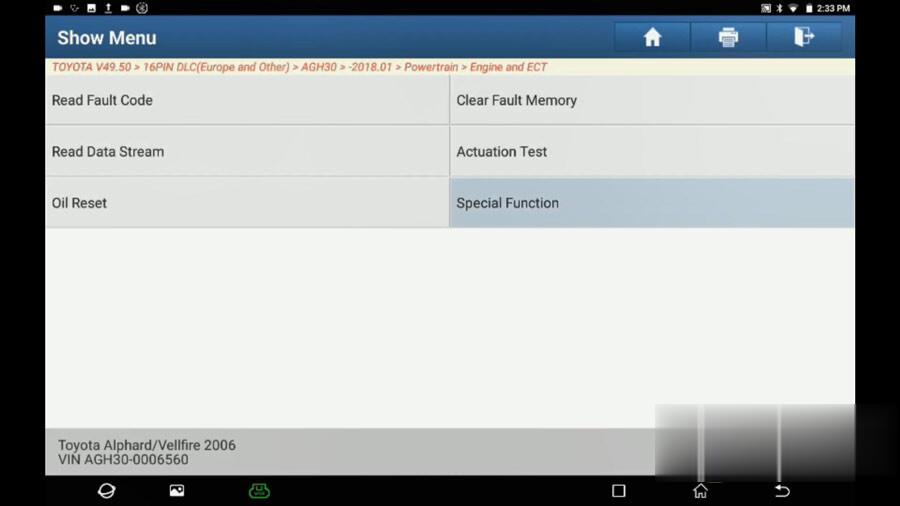
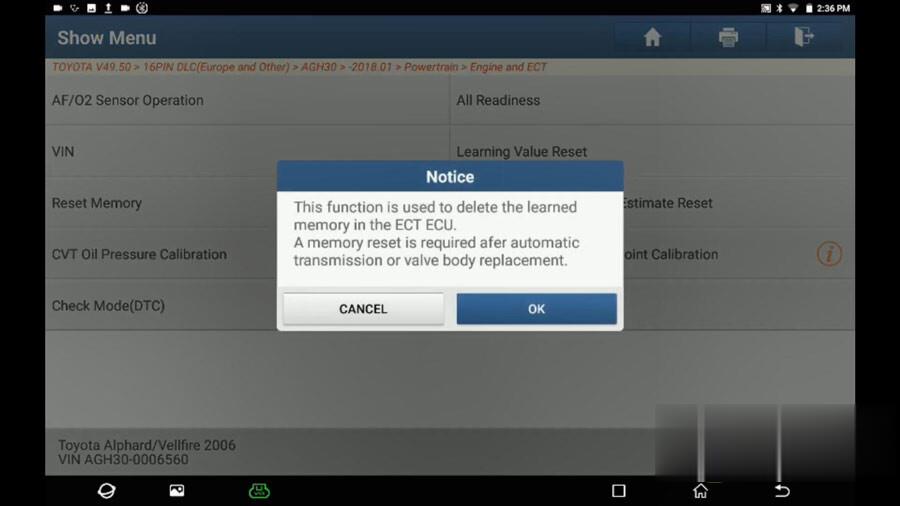
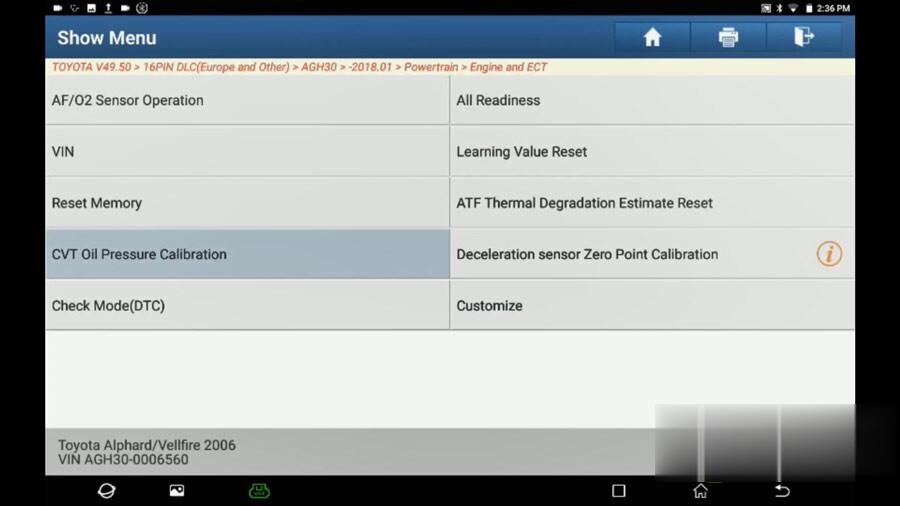
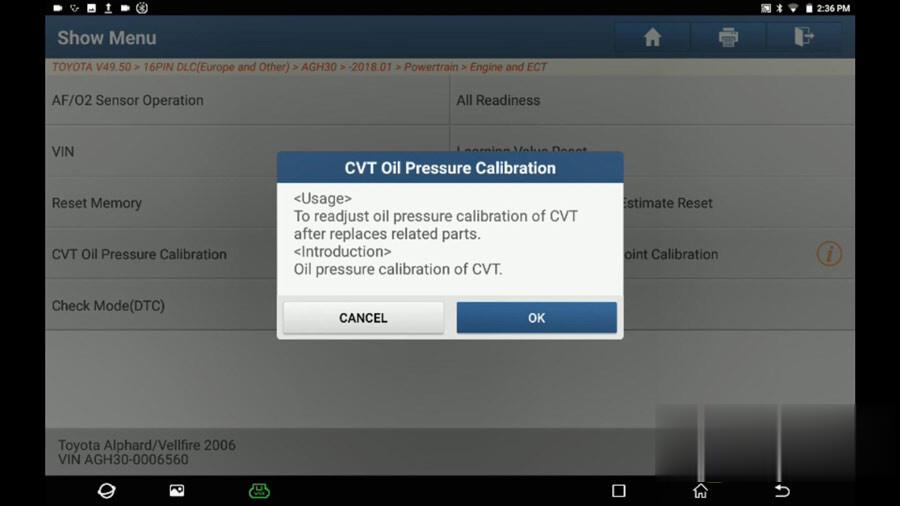
Software display: