


◆64-Megapixel Autofocus Camera for Raspberry Piの設定手順
Raspberry Pi 4、 Raspberry Pi CM4以外は、16-Megapixelにダウンする、注意が必要
1.準備
●CPU : Raspberry Pi 4 Model B 4GB
●SD : SDSQXNE-032G-GN6MA [ SanDisk ]
●AC/DC : Google 30W USB-C 充電器
●Case : Raspberry Pi 4アルミニウムケース 冷却ファン付き
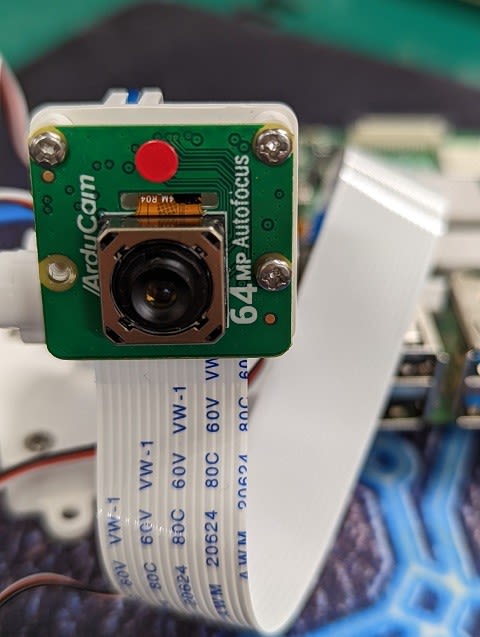
●Camera : 64-Megapixel Autofocus Camera for Raspberry Pi【超高解像度オートフォーカスカメラモジュール】
●Tripod : Pan Tilt Platform for Raspberry Pi【SKU:B0283】
●PC OS : Windows 10 Pro 64bit
●SSH Tool : TeraTerm-4.106
●VNC Tool : VNC Viewer 6.21.1109
2.OSの書込み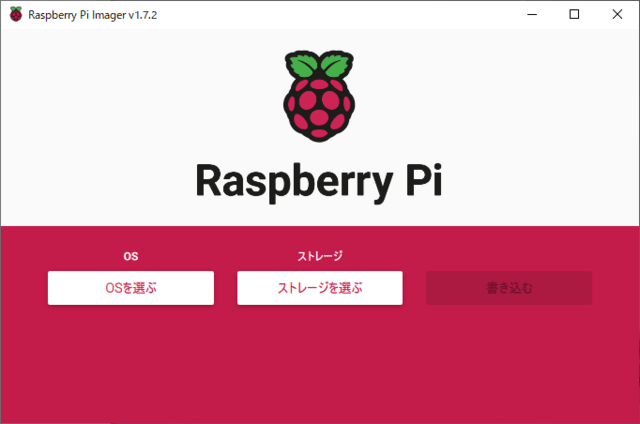
Raspberry Pi Imager を起動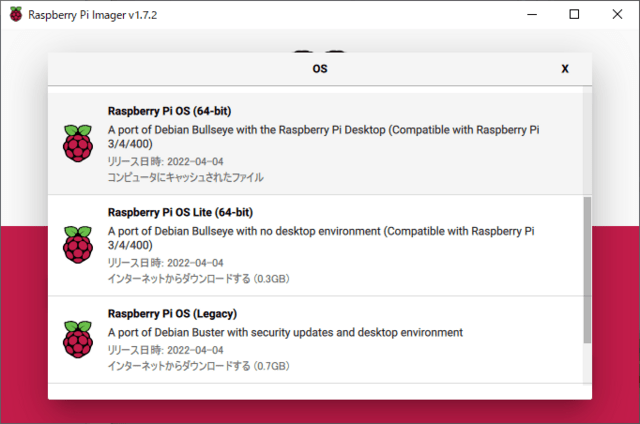
Raspberry Pi OS(64-bit) を選択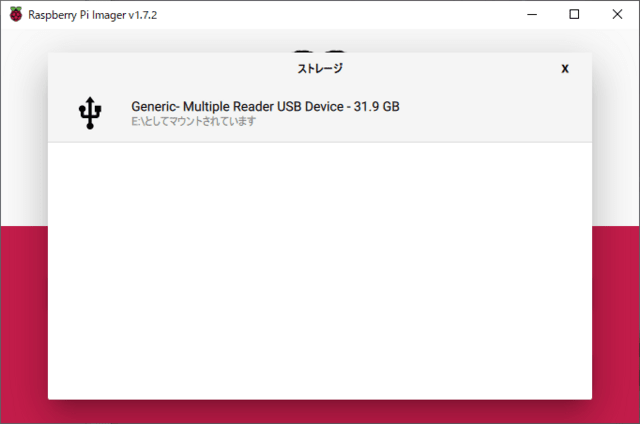
SD Card を選択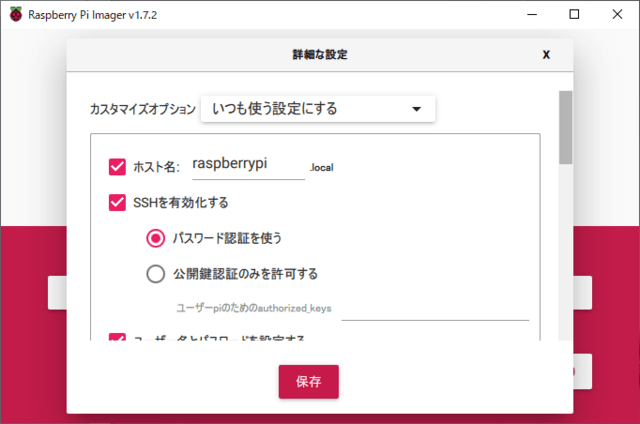
カスタマイズオプション → いつも使う設定
SSHを有効、Wi-Fiを設定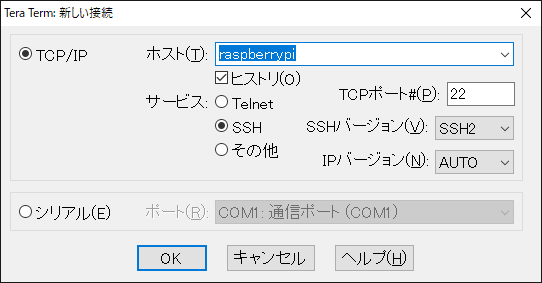
TeraTerm を起動
SSH接続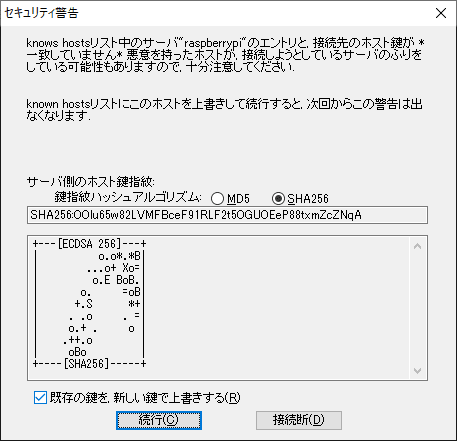
<続行(C)>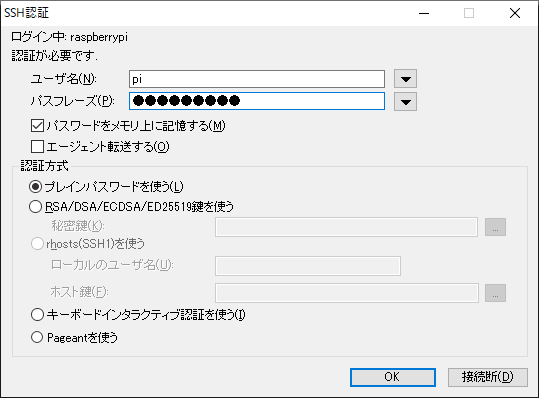
パスフレーズ入力
<OK>
3.VNCの設定
~$ sudo raspi-config
3 Interface Options の選択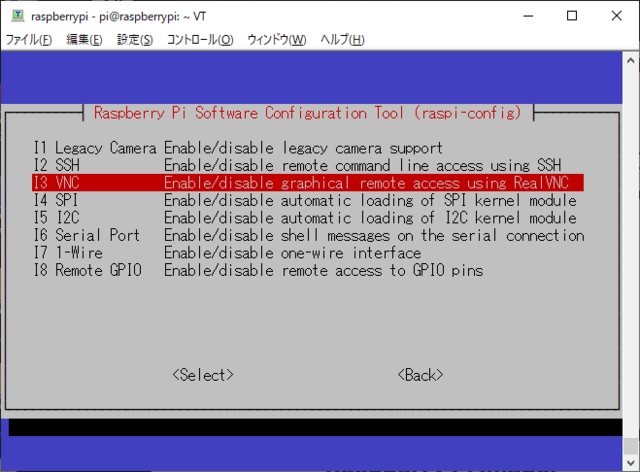
I3 VNC の選択
<Yes>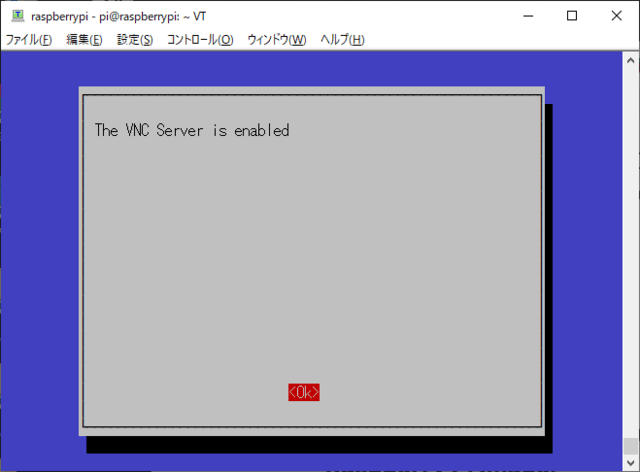
<OK>
<Finish>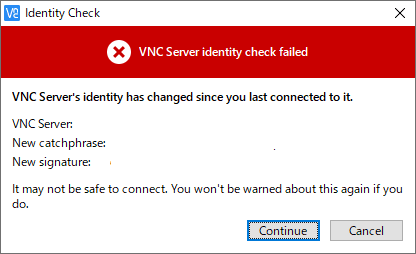
VNC Viewer を起動
<Continue>
Raspberri Pi と接続
4.ドライバーの導入
この記事を参照
#bulleye-arm64:
~$ cd ~
~$ wget https://github.com/ArduCAM/Arducam-Pivariety-V4L2-Driver/releases/download/libcamera-v0.0.5/libcamera-apps-0.0.6-bullseye-arm64.deb
~$ sudo apt install -y ./libcamera-apps-0.0.6-bullseye-arm64.deb
#Install the Driver
~$ wget -O install_pivariety_pkgs.sh https://github.com/ArduCAM/Arducam-Pivariety-V4L2-Driver/releases/download/install_script/install_pivariety_pkgs.sh
~$ chmod +x install_pivariety_pkgs.sh
~$ ./install_pivariety_pkgs.sh -p 64mp_pi_hawk_eye_kernel_driver
#libcamera-dev and libcamera-apps Installation
~$ ./install_pivariety_pkgs.sh -p libcamera_dev
~$ ./install_pivariety_pkgs.sh -p libcamera_apps
5.config.txt の設定
~$ sudo nano /boot/config.txt
テキストエディタで、config.txt に追記
[all]
# Run as fast as firmware / board allows
arm_boost=1
dtoverlay=vc4-kms-v3d,cma-512
[cm4]
dtoverlay=arducam_64mp
dtoverlay=arducam_64mp,cam0
上書き保存で、テキストエディタを終了
#reboot
~$ sudo reboot
再起動を実行
6.カメラ動作確認
#List all cameras:
~$ libcamera-still --list-cameras
カメラが、認識されていることを確認
#Specify a camera:
~$ libcamera-still -t 0 -camera 0
ピントは合っていないが、画像が出力される
画像サイズが大きいので、遅延とフレームレートは許容できない
7.フォーカス制御
VNCで画像が出力されている状態のとき、SSHでコマンド実行
# Focus Control/Adjustment
~$ git clone https://github.com/ArduCAM/Arducam-Pivariety-V4L2-Driver.git
~$ cd Arducam-Pivariety-V4L2-Driver/focus
~$ python3 FocuserExample.py -d /dev/v4l-subdev1
FocuserExample.py は最初は動作しない。再度、FocuserExample.py を実行
上下のカーソールキーで、ピントを合わせる
レンズからの最短撮影距離 80mmの画像
8.オートフォーカス
~$ libcamera-still -t 0 --viewfinder-width 2312 --viewfinder-height 1736 --continue-autofocus
ベータ版(2022.06.30現在)で、動作は不安定
カメラが非常に高温になる
─以上─