Excelで列の幅を広げたい、または狭めたい時は、列を選択してから
列番号の境界線で両方向矢印が表示されたら、ドラッグして好きに決めることができます。
でも、自分でぴったりに幅を調整したつもりが、印刷プレビューを見ると
字が欠けてしまっているということも多々あるもの。
そんな時はExcelに調整をお任せしましょう。
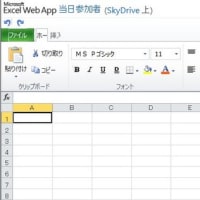
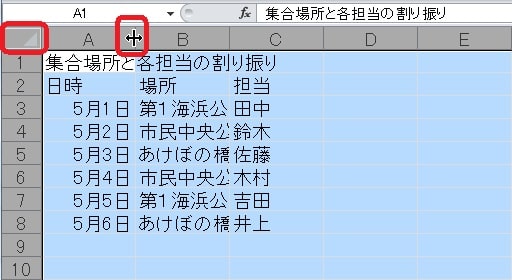
まず列番号と行番号の角にある「全セル選択」をクリックします。
そして列番号の境界線を軽くダブルクリックします。
マウスポインターは両向き矢印の形です。
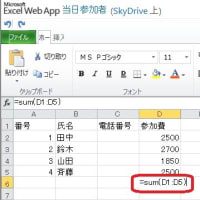
自動調整ですから、一番長い文字列に合わせてしまう。
だから、こんな時もありますね。
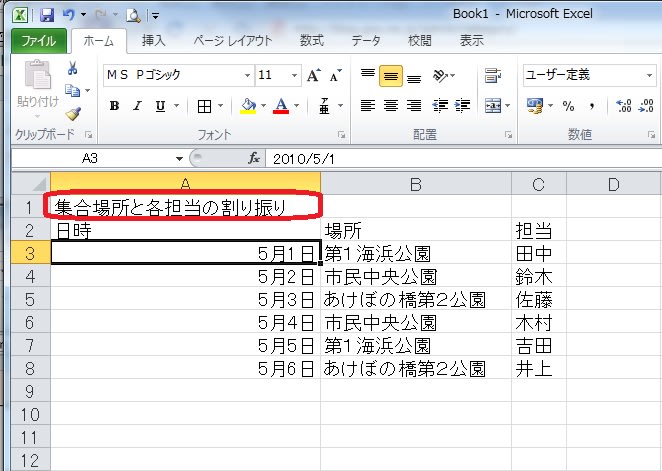
こんな時でも自動調整ができる?ええ、できますとも。
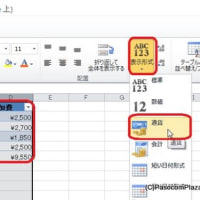
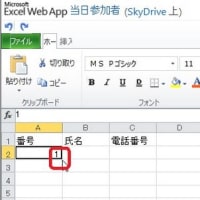
まず、合わせたい文字のあるセルを選択します。
ここでは「5月1日」に合わせることにします。
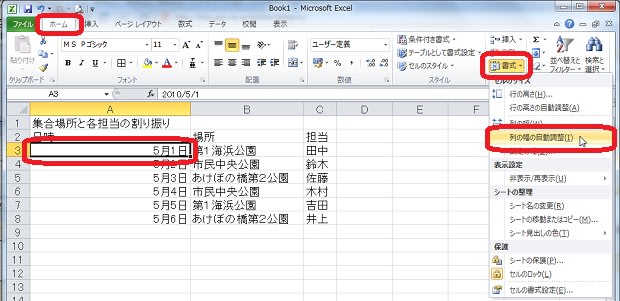
そして、ホームタブの「書式」の▼の中から「列の幅の自動調整」を
クリックします。
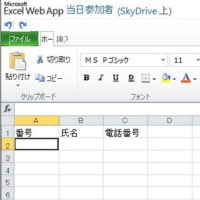
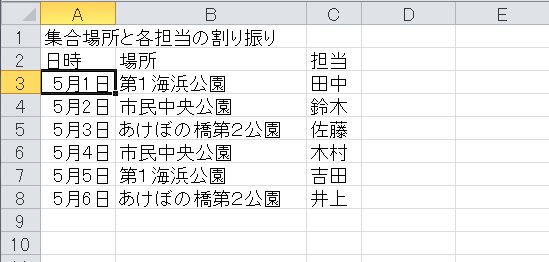
自動調整、ちゃんとされてますね!
【参考】
Office2003にも、文字幅に合わせた自動調整はもちろんあります!
合わせたい文字のセルを選択します。
メニューバー「書式」の「列」から「選択範囲に合わせる」を
クリックします。

ほら、この通り。

Office2007、2010では「列の幅の自動調整」
Office2003では「選択範囲に合わせる」ですね。
メニューの名前も変更になっていますから、
ちょっと戸惑いましたが、あることはあるんだ、とホッとしました。

 目次はこちら

列番号の境界線で両方向矢印が表示されたら、ドラッグして好きに決めることができます。
でも、自分でぴったりに幅を調整したつもりが、印刷プレビューを見ると
字が欠けてしまっているということも多々あるもの。
そんな時はExcelに調整をお任せしましょう。
まず列番号と行番号の角にある「全セル選択」をクリックします。
そして列番号の境界線を軽くダブルクリックします。
マウスポインターは両向き矢印の形です。
自動調整ですから、一番長い文字列に合わせてしまう。
だから、こんな時もありますね。
こんな時でも自動調整ができる?ええ、できますとも。
まず、合わせたい文字のあるセルを選択します。
ここでは「5月1日」に合わせることにします。
そして、ホームタブの「書式」の▼の中から「列の幅の自動調整」を
クリックします。
自動調整、ちゃんとされてますね!
【参考】
Office2003にも、文字幅に合わせた自動調整はもちろんあります!
合わせたい文字のセルを選択します。
メニューバー「書式」の「列」から「選択範囲に合わせる」を
クリックします。
ほら、この通り。
Office2007、2010では「列の幅の自動調整」
Office2003では「選択範囲に合わせる」ですね。
メニューの名前も変更になっていますから、
ちょっと戸惑いましたが、あることはあるんだ、とホッとしました。