
The Samsung Galaxy S10 has a complex internal structure, which contains lots of parts and elements. Since we have demonstrated how to replace the Samsung S10 LCD display screen previously, here we would like to show you how to replace the Samsung S10 rear-facing camera in steps. Let’s get all the tools ready and take the process on it.
1. Teardown the phone
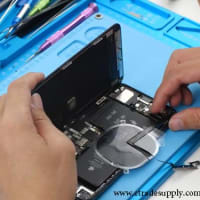
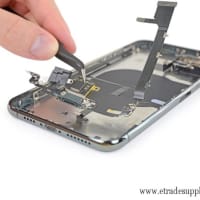
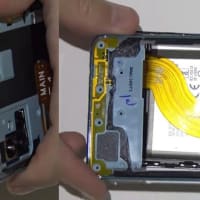
Use a mobile phone opening tool to separate and take down the back cover. Loosen the Phillips screws and remove the plastic cover with wireless charging coil, and then disconnect the battery flex cable. Loosen the seven screws and remove the loudspeaker. Disconnect the flex cables and then remove the parts, which include a headphone jack and the front-facing camera, disconnect the mainboard flex cable as well. Loosen the three screws on the mainboard, and then eject and take out the SIM card holder.
2. Replace the rear-facing camera
After the mainboard is loosened, make sure all the flex cables are disconnected on the mainboard. It is time to take the mainboard off from the phone for rear-facing camera replacement. Flip over the mainboard and then we can see the rear-facing camera is fixing on the board with two connectors. Gently pry and disconnect the cables and remove the camera from the board, and then install the new camera on it. Make sure no fingerprint, dust or dirt left on the camera lens, then connect the flex cables.
3. Reassemble the phone
After the new Samsung Galaxy S10 rear-facing camera replacement is completed, then let’s move to the final step of the Samsung S10 reassemble. Firstly, install the mainboard back and make sure it is on the position as it used to be. Insert the SIM card holder back and then fixing the mainboard with the three screws. Install the front-facing camera and the headphone jack back on the board, then connect the mainboard flex cable. Place the loudspeaker back and fixing it with the seven screws. Connect the battery flex cable back and then place the plastic cover back. Fixing the cover with eight screws. Turn on the phone and test the new camera, make sure it is working ok. Then attach a new back cover adhesive on the back cover and seal up the cover.






※コメント投稿者のブログIDはブログ作成者のみに通知されます