@media (max-width: 1200px) { }
body .novashare-buttons.novashare-inline .novashare-button-icon { width: 100%; }
Share this Article:
TwitterFacebookPinterestPrint
body .novashare-pinterest-image{display:block;position:relative;margin:0;padding:0;line-height:0}figure>.novashare-pinterest-image{height:100%;width:100%}body .wp-block-image .novashare-pinterest-image+figcaption{display:block}body .novashare-pinterest-image-button{opacity:0;transition:.3s;position:absolute;height:18px;max-height:18px;width:auto!important;padding:10px;cursor:pointer;background:#c92228;color:#fff;font-size:16px;line-height:18px;z-index:1;text-decoration:none;box-sizing:content-box;top:50%;left:50%;transform:translate(-50%,-50%)}body .novashare-pinterest-image-button:hover{background:#b51f24}body .novashare-pinterest-image-button:visited{color:#fff}body .novashare-pinterest-image:hover .novashare-pinterest-image-button{opacity:1}body .novashare-pinterest-image-button svg{width:18px;height:18px;vertical-align:middle;pointer-events:none}
Are you looking for alternatives to buttons and buttonholes? Even after many, many years of sewing I still hate sewing buttons. Well, actually it is not the buttons but the dreaded buttonholes. How many times have I made a beautiful dress or top only to ruin it at the last minute with a messy buttonhole? Too many!
 PinAlternatives to Buttons
Contents
Alternatives to Buttons & Buttonholes1. Velcro 2. Kam Snaps Read More about Fasteners3. Sew on Press Studs (Snaps)4. Snap tape 5. Hook and EyesMore AlternativesMore Button Tutorials
Alternatives to Buttons & Buttonholes
Here are a few easy alternatives to buttons and buttonholes great for beginners and experienced sewers alike.
 PinAlternatives to Buttons, Alternatives to Buttonholes
1. Velcro
Sewing Velcro is often my first preference when I am looking for alternatives to buttons. The term Velcro is a brand name and the generic name you will usually come across is hook and eye tape.
 PinVelcro
If you are adding velcro to clothing, it is best to use ¼ inch (6mm) to ½ inch (12mm) widths. If you can`t find the width you would like, cut down the sides to make your desired sizes. I like to cut down the middle of ½” (12mm) Velcro to make it thinner. This makes it look a little prettier.
Here are some pros and cons to using velcro as alternatives to buttons.
Pros – Easy for younger children to do up themselves and it is fairly cheapCons – Sometimes you get skipped or messy stitches when sewing it on. Use a strong polyester thread in a matching color to your Velcro. Smaller stitch lengths are also recommended. Further Reading:How to Sew Velcro2. Kam Snaps
I only started using these recently but I LOVE them! Kam Snaps is a brand of plastic snaps designed for home use. They can be purchased in a kit of assorted colors and come with a simple hand-setting tool. I found my set on eBay but also check Amazon or your local Haberdashery store.
 PinKam Snaps
The snaps come with different length posts so make sure you get the correct size for the thickness of the fabric you are using.
Here are some pros and cons to using Kam Snaps as alternatives to buttons.
Pros – Kam snaps are cheap, easy to install and come in lots of beautiful and fun colors.Cons – I can`t think of any! Just take your time setting them correctly so the pins don`t bend. Further Reading:KAM Snaps TutorialRead More about Fasteners
 PinSetting Snaps
 PinSetting Eyelets
 PinHook and Eye
 PinHow to Sew a Zipper
 PinHow to Sew a Button
 PinTypes of Buttons
 PinFabric Covered Buttons
 PinSewing Velcro
3. Sew on Press Studs (Snaps)
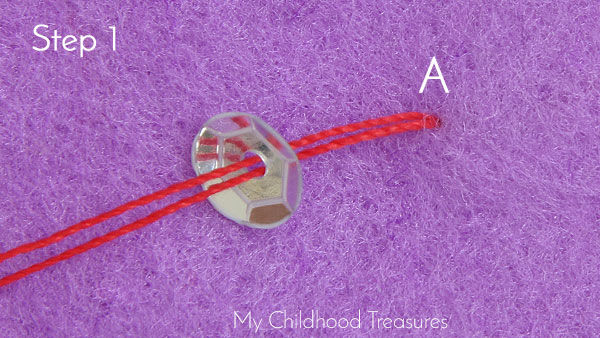
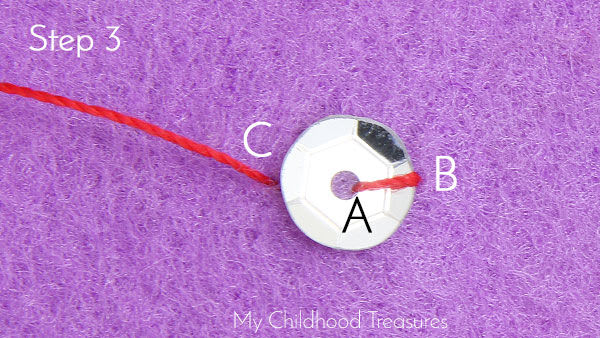
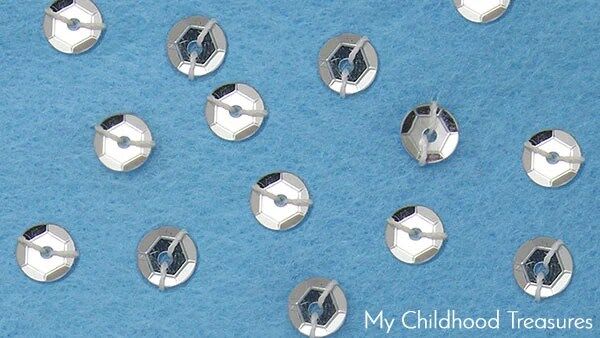
These have been around forever! Sew on snaps are traditionally metal round disks with holes around the outside for sewing. Depending on where you live they might be called press studs or snaps.
Make sure you are using a matching thread to your fabric and try to sew them through the lining layer only so there are no stitches visible on the outside.
 PinSnaps
Here are some pros and cons to using sew-on press studs as alternatives to buttons.
Pros – really cheap, easy to attachCons – harder for younger children to do up themselves.Further Reading: How to Sew Press Studs (includes a video)4. Snap tape
This is a tape made from twill with the snaps already attached.
Pull your tape apart and sew one piece on each side of the opening. It is important to make sure your bobbin thread matches the color of the dress.
Here are some pros and cons to using snap tape as alternatives to buttons.
Pros – Super easy to sew on and there is no extra work in attaching the snapsCons – Snap tape can be expensive and you will see the stitching on the outside.5. Hook and Eyes
Hook and eye sewing is often found on vintage clothing at the top of zippers. However larger sized hooks can be used as alternatives to buttons.
 Pin
PinHere are some pros and cons to using hook and eyes as alternatives to buttons.
Pros – Really cheap and easy to attachCons – Bit more fiddly to sew than other methods and not good for children`s clothing and little fingers. Further Reading: How to sew hook and eye fasteners (includes a video)Do you have anything else that you use as alternatives to buttons or buttonholes? Please share in the comments below.
More Alternatives
4 Alternatives to ButtonsHow to Sew a ButtonHow to Sew VelcroKam Snaps TutorialHow to Sew a ZipperHook and EyeSetting SnapsSetting Eyelets
More Button Tutorials
How to Make Fabric ButtonsTypes of ButtonsHow to Sew a Button – 4 holes, 2 holes and shankHow to Sew a Buttonhole | Automatic & ManualHand Sewn ButtonholeHow to Sew a Button on a ShirtHow to Make Fabric Buttons Alternatives to ButtonsButton SizesButton Loops
4.9/5 - (35 votes)
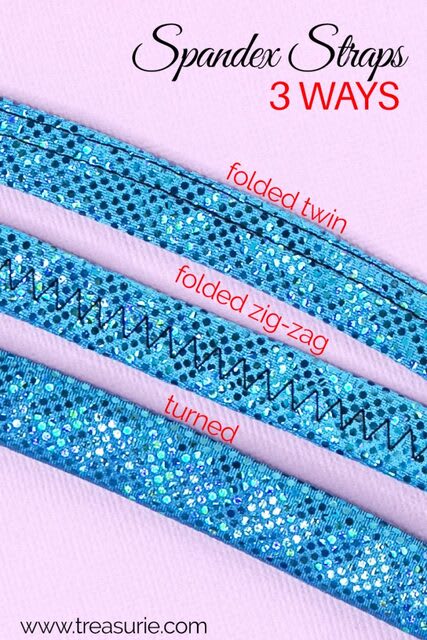 PinSpandex Straps


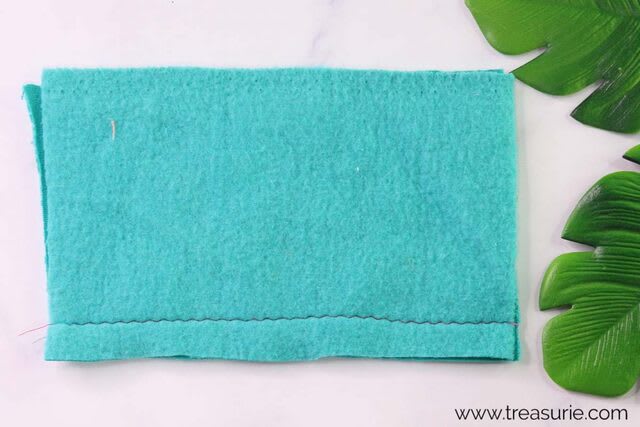
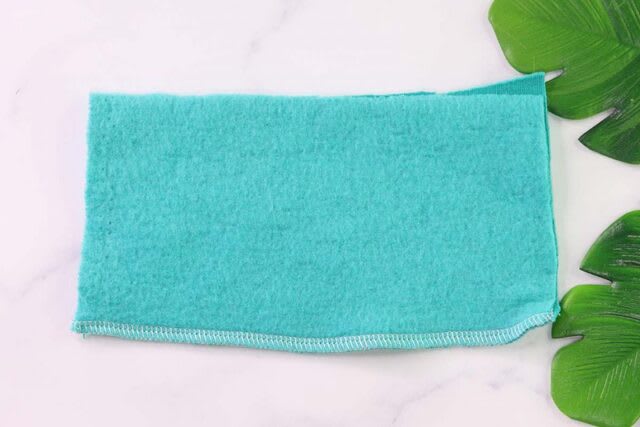
 PinSewing Fleece


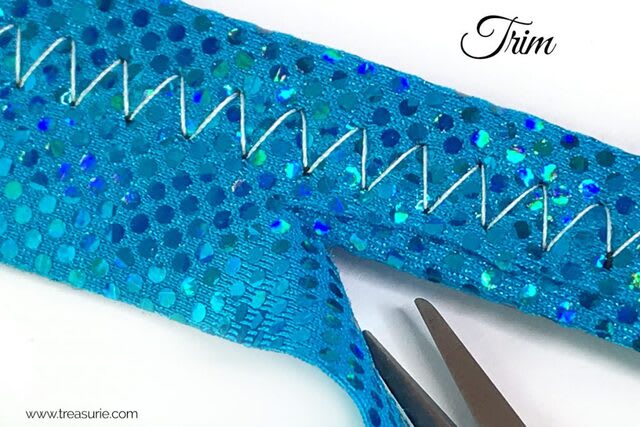
 PinSewing Sequins, How to Sew Sequins


 PinRag Quilt Patterns