@media (max-width: 1200px) { }
body .novashare-buttons.novashare-inline .novashare-button-icon { width: 100%; }
Share this Article:
TwitterFacebookPinterestPrint
body .novashare-pinterest-image{display:block;position:relative;margin:0;padding:0;line-height:0}figure>.novashare-pinterest-image{height:100%;width:100%}body .wp-block-image .novashare-pinterest-image+figcaption{display:block}body .novashare-pinterest-image-button{opacity:0;transition:.3s;position:absolute;height:18px;max-height:18px;width:auto!important;padding:10px;cursor:pointer;background:#c92228;color:#fff;font-size:16px;line-height:18px;z-index:1;text-decoration:none;box-sizing:content-box;top:50%;left:50%;transform:translate(-50%,-50%)}body .novashare-pinterest-image-button:hover{background:#b51f24}body .novashare-pinterest-image-button:visited{color:#fff}body .novashare-pinterest-image:hover .novashare-pinterest-image-button{opacity:1}body .novashare-pinterest-image-button svg{width:18px;height:18px;vertical-align:middle;pointer-events:none}
So what is a fat quarter? A fat quarter, in the sewing world, is something you really need to embrace. They are measured pre-cut pieces of fabric that can be used for all sorts of sewing and quilting patterns. Fat quarters are a really great fabric size used for quilting, applique, and other small projects. Fat, in its positive connotation, means generous, abounding, and prosperous. The fat quarter is just like that!
 PinWhat is a Fat Quarter
Contents
What is a Fat Quarter in Fabrics?What is a Fat Quarter in Cm?How Many Fat Quarters in a Yard?Are all Fat Quarters the Same?Is a Fat Quarter the Same as a Quarter Yard of FabricWhat is a Fat Eighth?Cutting More Pre-Cut Fabric PiecesHow to Cut a Fat QuarterWhat is a Fat Quarter and Fabric Cuts ChartFabric Cut Printable ChartWhere to Buy Fat QuartersWhat is a Fat Quarter Used For? (Fat Quarter Projects)What is a Fat Quarter - In Conclusion
What is a Fat Quarter in Fabrics?
In simple terms, a fat quarter is a pre-cut piece of quilting fabric that is 22 inches (56cm) wide by 18 inches (46cm) high. It will usually then be folded in quarters so it is a nice grab-sized item at your local fabric shop. Quilting fabric is a light to medium weight cotton fabric.
What is a Fat Quarter in Cm?
A fat quarter in centimeters is 56cm wide by 46cm high when purchased from most US manufacturers. You may find some UK or Australian fabric companies that round it up to 50 x 55cm to match the metric measurements of their rolls. They will cut 4 fat quarters per meter of fabric instead of per yard of fabric (1 yard = 90cm).
How Many Fat Quarters in a Yard?
There are 4 fat quarters per yard (0.90m). Think of it as simply cutting a yard piece of fabric into 4 equal pieces. Due to the standard 44-45 inch (112cm) width of fabrics, a fat quarter will be rectangular rather than square.
Are all Fat Quarters the Same?
There can be a slight difference in fat quarters in different countries. For example, in Australia, they measure fabric by the meter (a meter is approximately 1.1 yards) so a fat quarter is a little wider than it is in the US in some but not all occasions. It depends entirely on the manufacturer or shops it is sold in.
Is a Fat Quarter the Same as a Quarter Yard of Fabric
A fat quarter and a regular quarter of a yard of fabric have the same surface area but are different shapes. A ¼ yard will be cut along the length of the fabric bolt meaning it will be ¼ yard or 9 inches by 44 inches or the width of the fabric. In contrast, a fat quarter typically measures 22x18".
What is a Fat Eighth?
Cutting a fat quarter in half will give you a fat eight. If you look at the cutting chart below, you will see that a fat eighth can be cut either lengthwise or widthwise. The typical size of a fat eighth is 22x9 inches or 18x11inches. Fat eighths are not as common as fat quarters.
Cutting More Pre-Cut Fabric Pieces
Fat quarters are so generous with the number of pieces you can cut from them. The quarter can become an eighth and the eighth diminishes to other sizes going down the line to teeny tiny 2’’ squares.
All these miniature sizes have delightful names, like charm squares, layer cake squares, and Jelly rolls. You can indulge in all these treats and not have to count one single calorie.
Jelly rolls are cut from long strips of fabric along the selvage of the fabric and are particularly useful for quilt borders and small sewing projects like hair accessories.
 PinJelly Roll
How to Cut a Fat Quarter
See how you can get 4 fat quarters to a yard and these can be further cut down into fat eights. As you can see from the diagram, fat eights can be cut vertically or horizontally. In plain fabrics, this makes no difference but if your fabric has a pattern, just make sure the fat eighth is cut in the correct direction to best display the pattern. Here is a chart to show you the sizes in both metric and imperial for some common fabric cuts including what is a fat quarter.
 PinWhat is a Fat Quarter
What is a Fat Quarter and Fabric Cuts Chart
Here is a chart showing you all the typical measurements of fabric pre-cuts including fat quarters. You may find some variation between manufacturers and countries.
| FABRIC TYPE | INCHES | CENTIMETRES |
| MINI CHARM SQUARES | 2.5 X 2.5 | 6.4 X 6.4 |
| CHARM SQUARES | 5 X 5 | 12.7 X 12.7 |
| JELLY ROLLS | 2.5 X 42 | 6.4 X 6.4 |
| LAYER CAKE SQUARES | 10 X 10 | 25.4 X 25.4 |
| FAT EIGHTH | 9 X 21 | 22.8 X 53.3 |
| FAT EIGHTH* | 11 X 18 | 28 X 45.7 |
| FAT QUARTER | 18 X 21 | 45.7 X 53.3 |
| HALF YARD | 18 X 44 | 45.7 X 112 |
| ONE YARD | 33 X 44 | 94.4 X 112 |
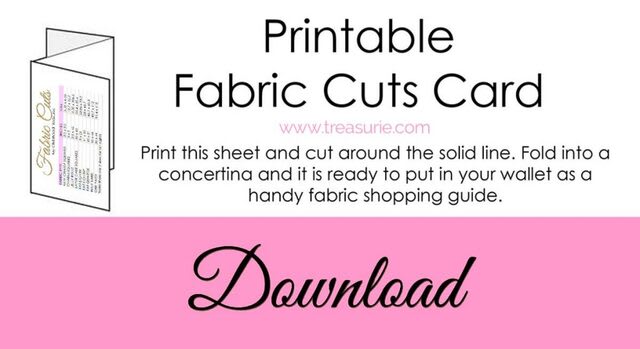
Fabric Cut Printable Chart
The fat quarter is abounding with multiple sizes do you know you can cut 99 X 2’’ squares from one fat quarter. Wonderful facts to know, but how do you remember the numbers in that magic moment when you find the most amazing fabric?
That’s when you pull out your Handy Fabric Shopping guide with all the measurements on one piece of card. It is a printable masterpiece that you can fold and store in your wallet. Then off you go with this, compact, size guide to any fabric shop. This Handy Fabric Guide comes with measurements in meters or inches. Exactly what you need for whichever system of measurement you use.
Click this link to download your printable fabric cut guide.
 PinWhat is a Fat Quarter Printable Chart
Take your Easy Quilting Fabric size guide wherever you go. When you see all those tempting rolls of fabric tied up with ribbon you can pull out your guide and know just what each piece measures. You can feed your desire to have beautiful fabrics.
Go out and buy all sorts of fat quarters and turn them into delicious, handmade creations. Bon Appetite and enjoy indulging in a fat quarter or two!
Now you know what is a fat quarter it is time for some projects!
Where to Buy Fat Quarters
Many fabric and quilt shops now carry fat quarters as they are becoming more popular, especially with quilters. Look for fat quarter bundles with a good assortment of complementary patterns and colors.
My other favorite place to purchase fat quarters is Etsy where you can get many of the popular designer quilting cotton fabrics in fat quarter sizes. Fat eights are not as easy to find but of course, you can cut your fat quarters in half and you have 2 fat eights!
What is a Fat Quarter Used For? (Fat Quarter Projects)
Fat quarters can be used for absolutely anything you want, not just quilts. The best thing about fat quarters is that they are amazing for small sewing projects.
They result in minimal waste and allow you to purchase a greater variety of colors and textures than if you had to purchase whole yards. This makes them very economical and fun to use.
Now you know what is a fat quarter, here are some of my most popular items you can sew.
DIY Napkins Doll Pillows, Doll Blanket,Doll MattressHow to Make Bias TapeFree Makeup Brush Pattern How to Make Fabric BowsContinuous Bias TapeHow to Make Scrunchies
 PinHow to Make Fabric Bows
 PinLarge Bows
  PinYo-yo flowers
 PinScrunchies
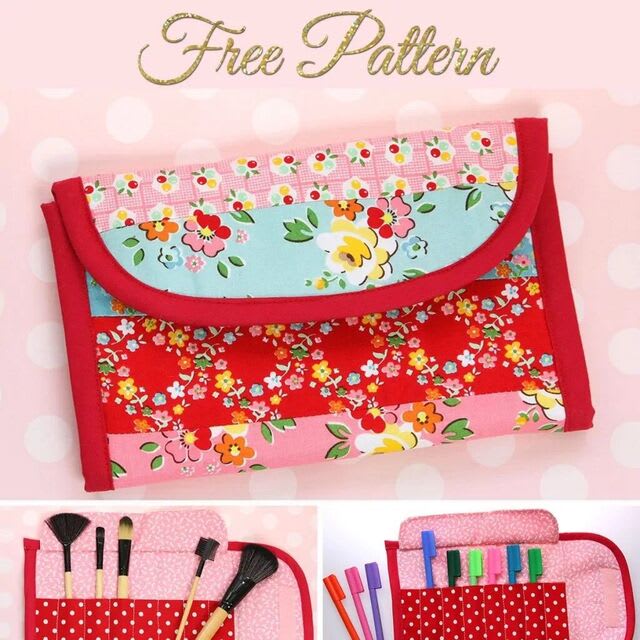 PinMakeup Roll Pattern
 PinDIY Hair Ties
 PinTissue Cover
 PinEnvelope Clutch Pattern
What is a Fat Quarter - In Conclusion
So what is a fat quarter? A fat quarter is simply a yard cut in quarters! If you think of it like that instead of remembering the measurements you will never go wrong. If you want more free fat quarter ideas, then check out my tutorial on small sewing projects.
5/5 - (27 votes)
 PinGodets


 PinFabric Stenciling


 PinHow to Sew Patches


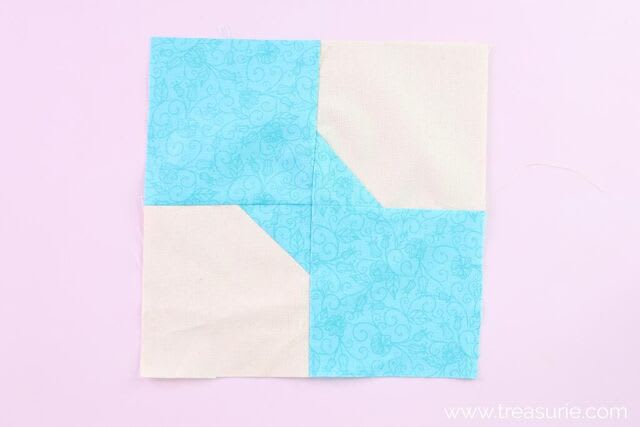
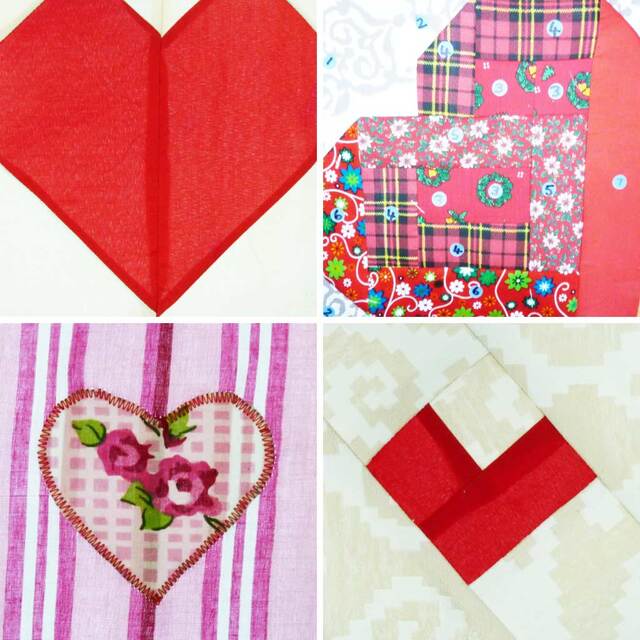
 PinBow Quilt Blocks